
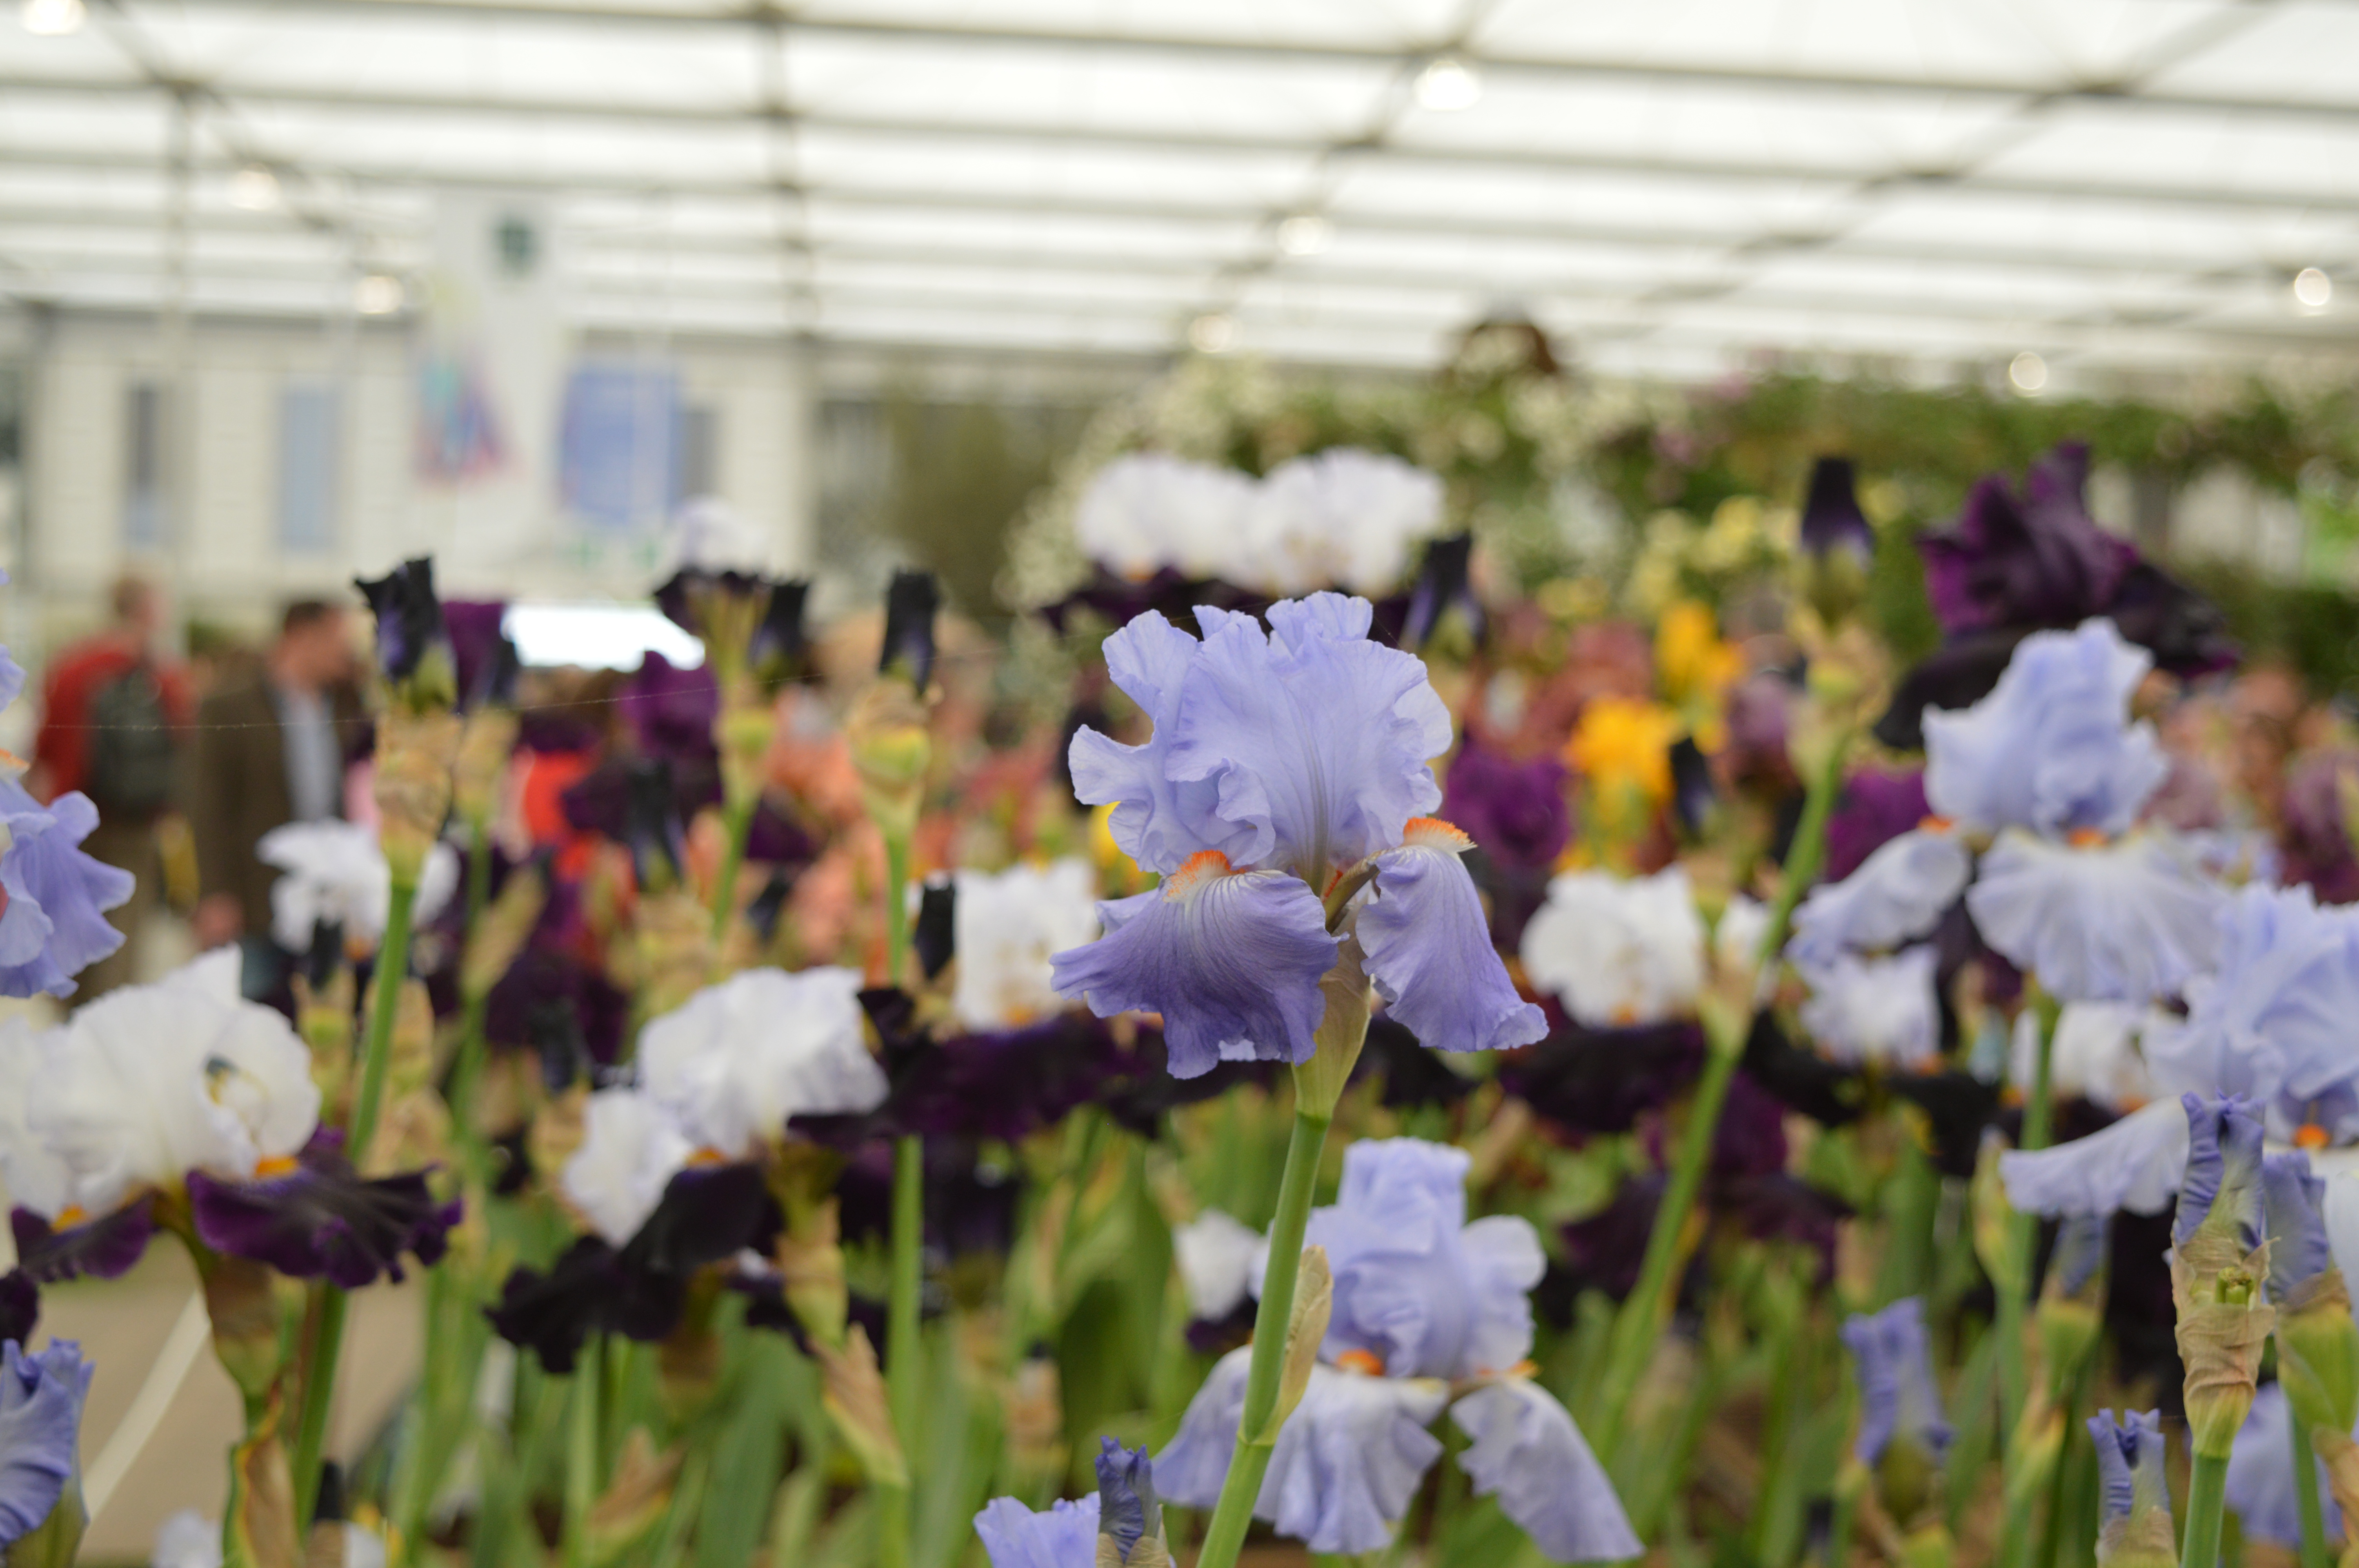
Last time we spoke about Iris I had been trying to pin down the name of our prolific mystery Iris but what if you have an Iris that is reluctant to flower?
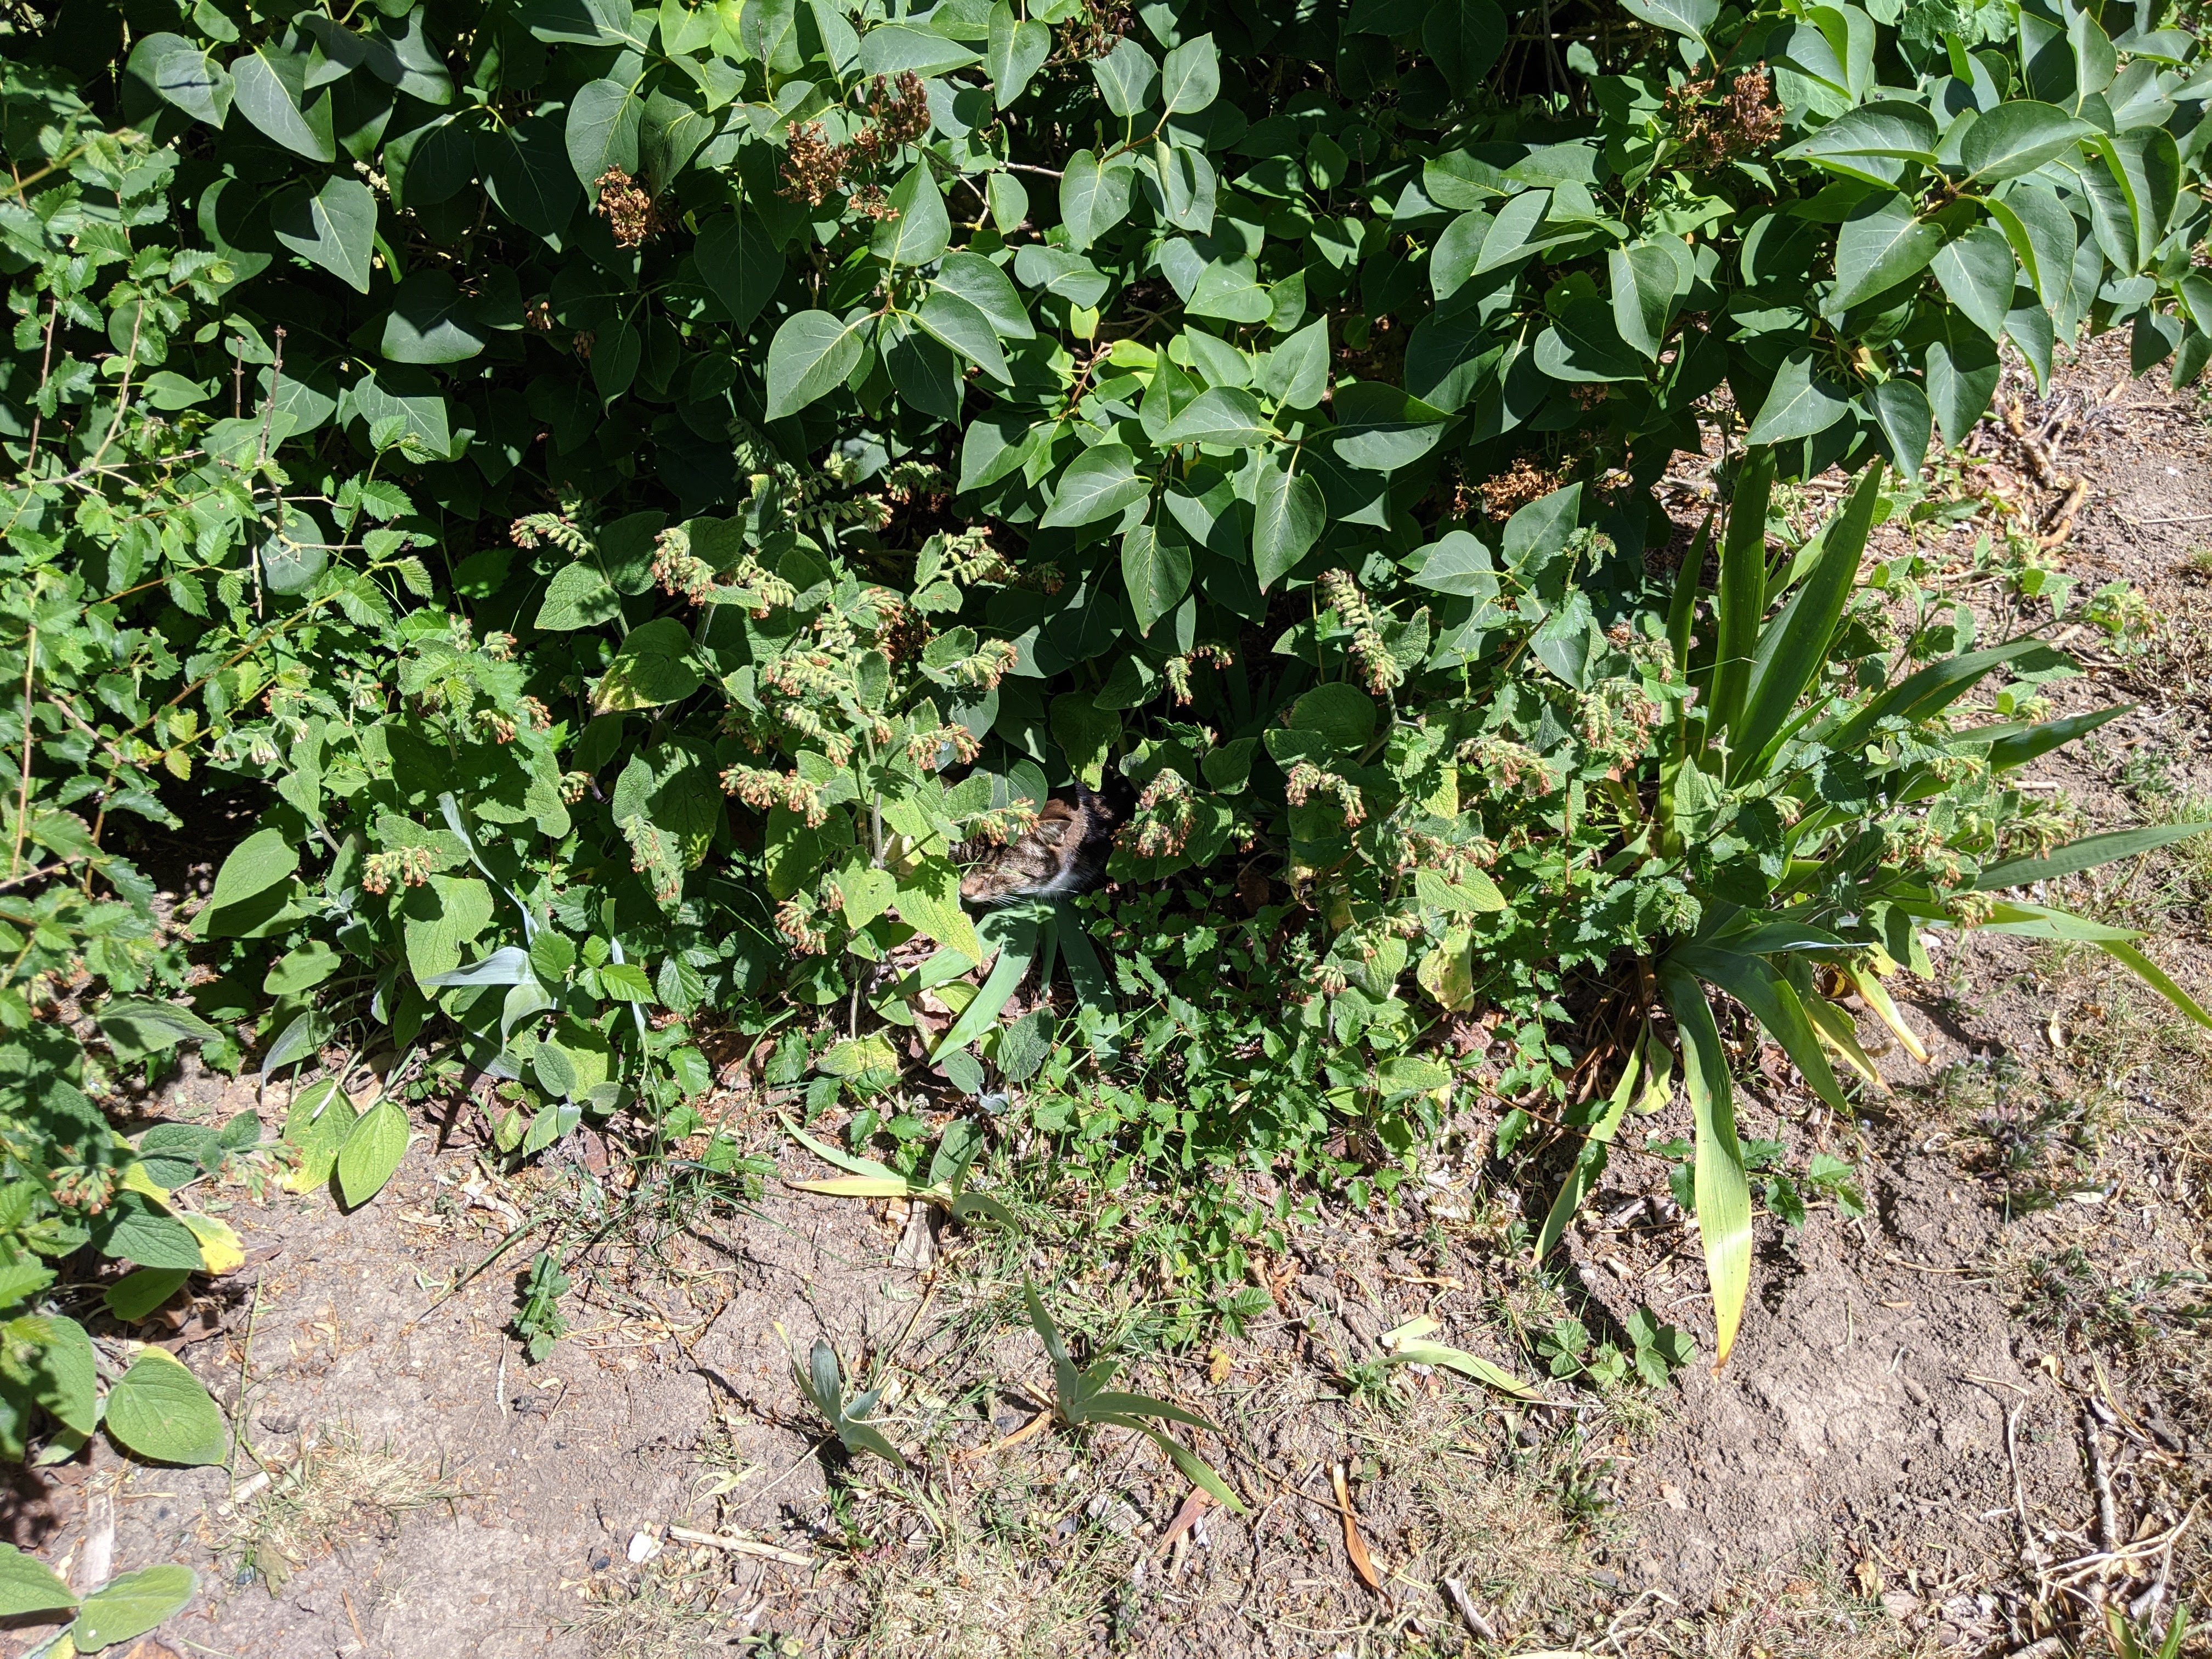
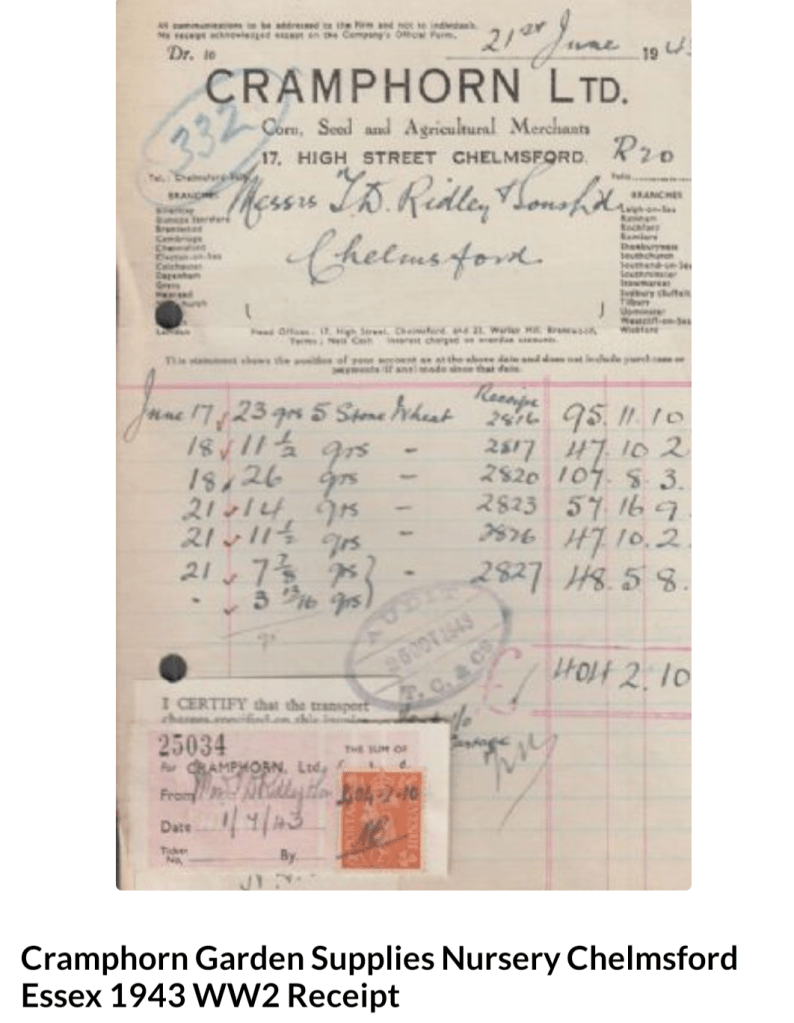
This Iris, if you can see it underneath the Lilac, comfrey and cat, probably came from Cramphorn Garden Centre. The landlords grandmother and family owned it , and it operated from at least the 60s as a garden centre. It had various branches until 1988 when it was bought out by Wyevale. So that at least gives us an idea of the time frame to be looking for when it finally does flower!
Interesting fact! Percy Thrower started his career in the 1960’s at the Felbridge branch of Cramphorns. Peter Seabrook also started his career with them and was kind enough to let me know via Perrywoods garden centre that he thought it had been running as a family seed merchants since the 1700’s! Its sad that so little is remembered of this once giant of horticulture.
Since I moved in however it hasn’t flowered so I’m going to lift, divide and finally relocate in order to jolt it into flowering!

Now just to be clear all the books and experts will tell you the best time to divide Iris is July through to September. This is because if your Iris has flowered you want to give it a chance to recover and get some energy back before tearing it into tiny pieces. For the purposes of this blog post I have sacrificed Iris etiquette however. After all you need this information in a timely manner!

Another reason I feel quite comfortable doing this in June is that everything is a bit previous this year, roses which wouldn’t normally flower till July are flowering now, so in the confusion I don’t think the Iris will mind too much.
I have however made one concession which, if your iris are pretty happy, you shouldn’t need to do and that’s sit them in some water whilst I prep the rest for potting. Under normal circumstance you could lift the rhizomes one day, cover with a tarp or cloth and pop in the shade. Then prep and pot the next day.
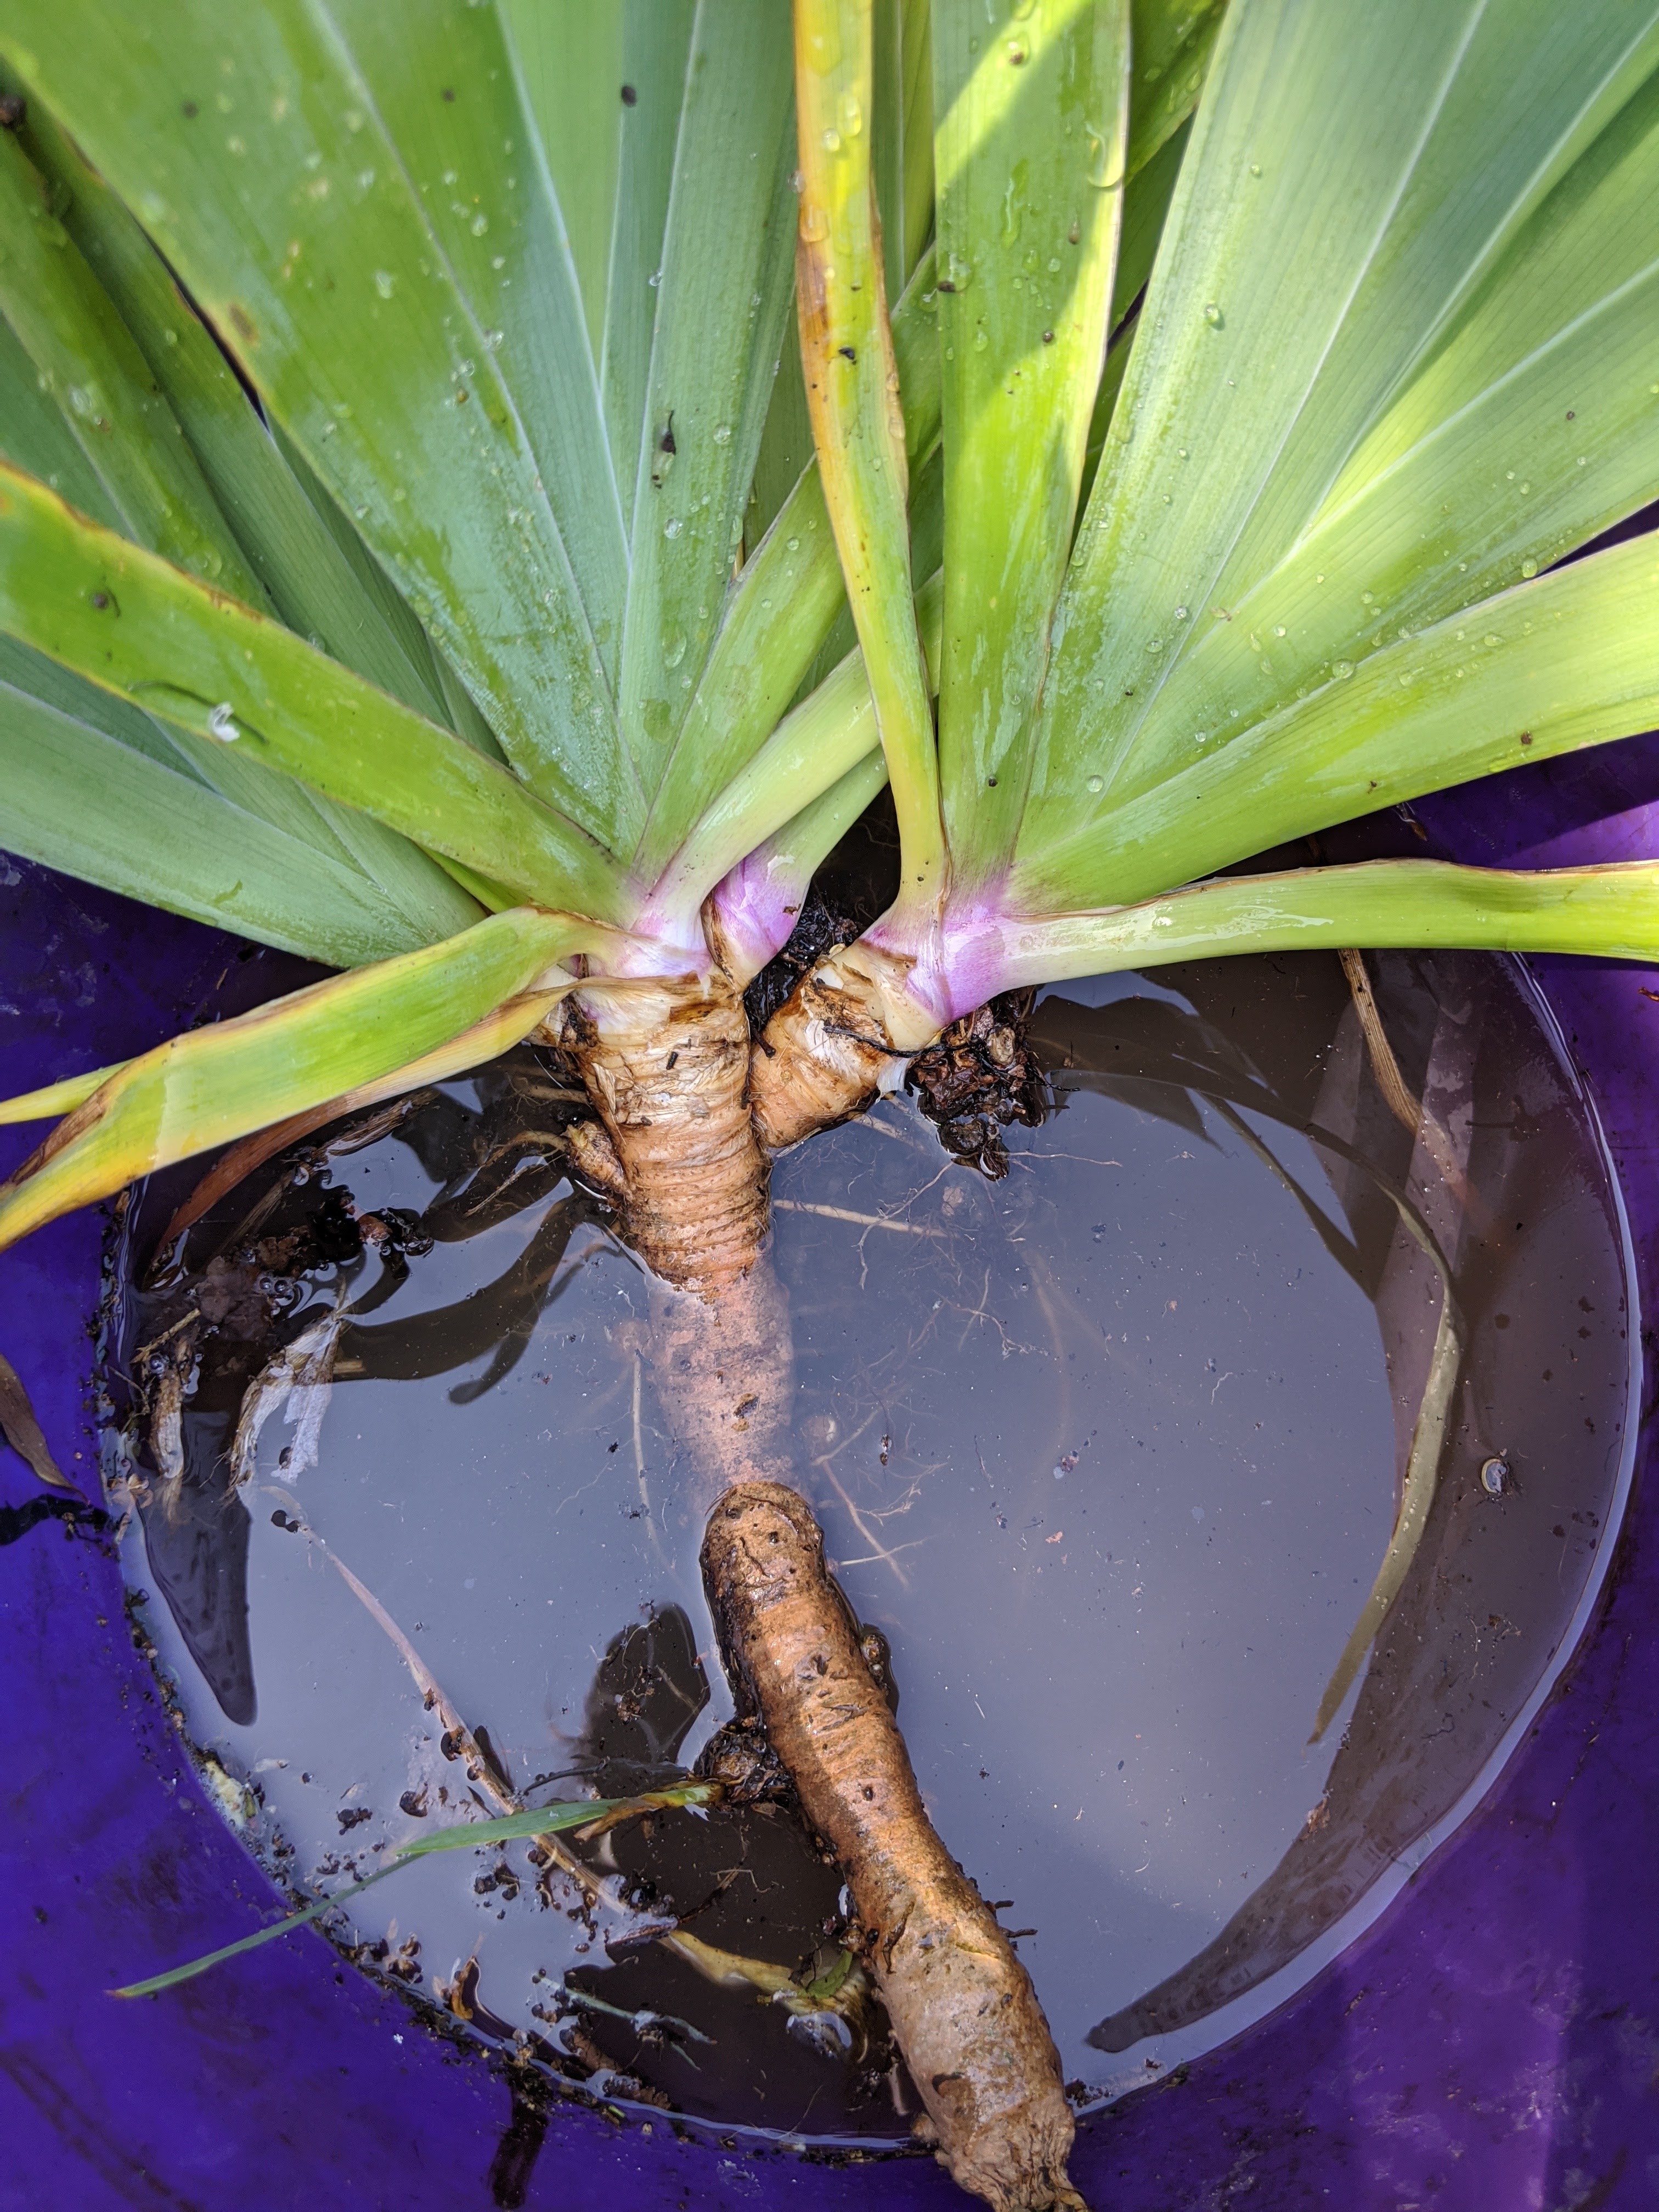
Now that my Iris are perfectly hydrated, the next thing I will do is rip any rhizomes growing out from the old main Rhizomes, clean them up and cut back the leaves. these new young fresh shoots should grow on strongly.
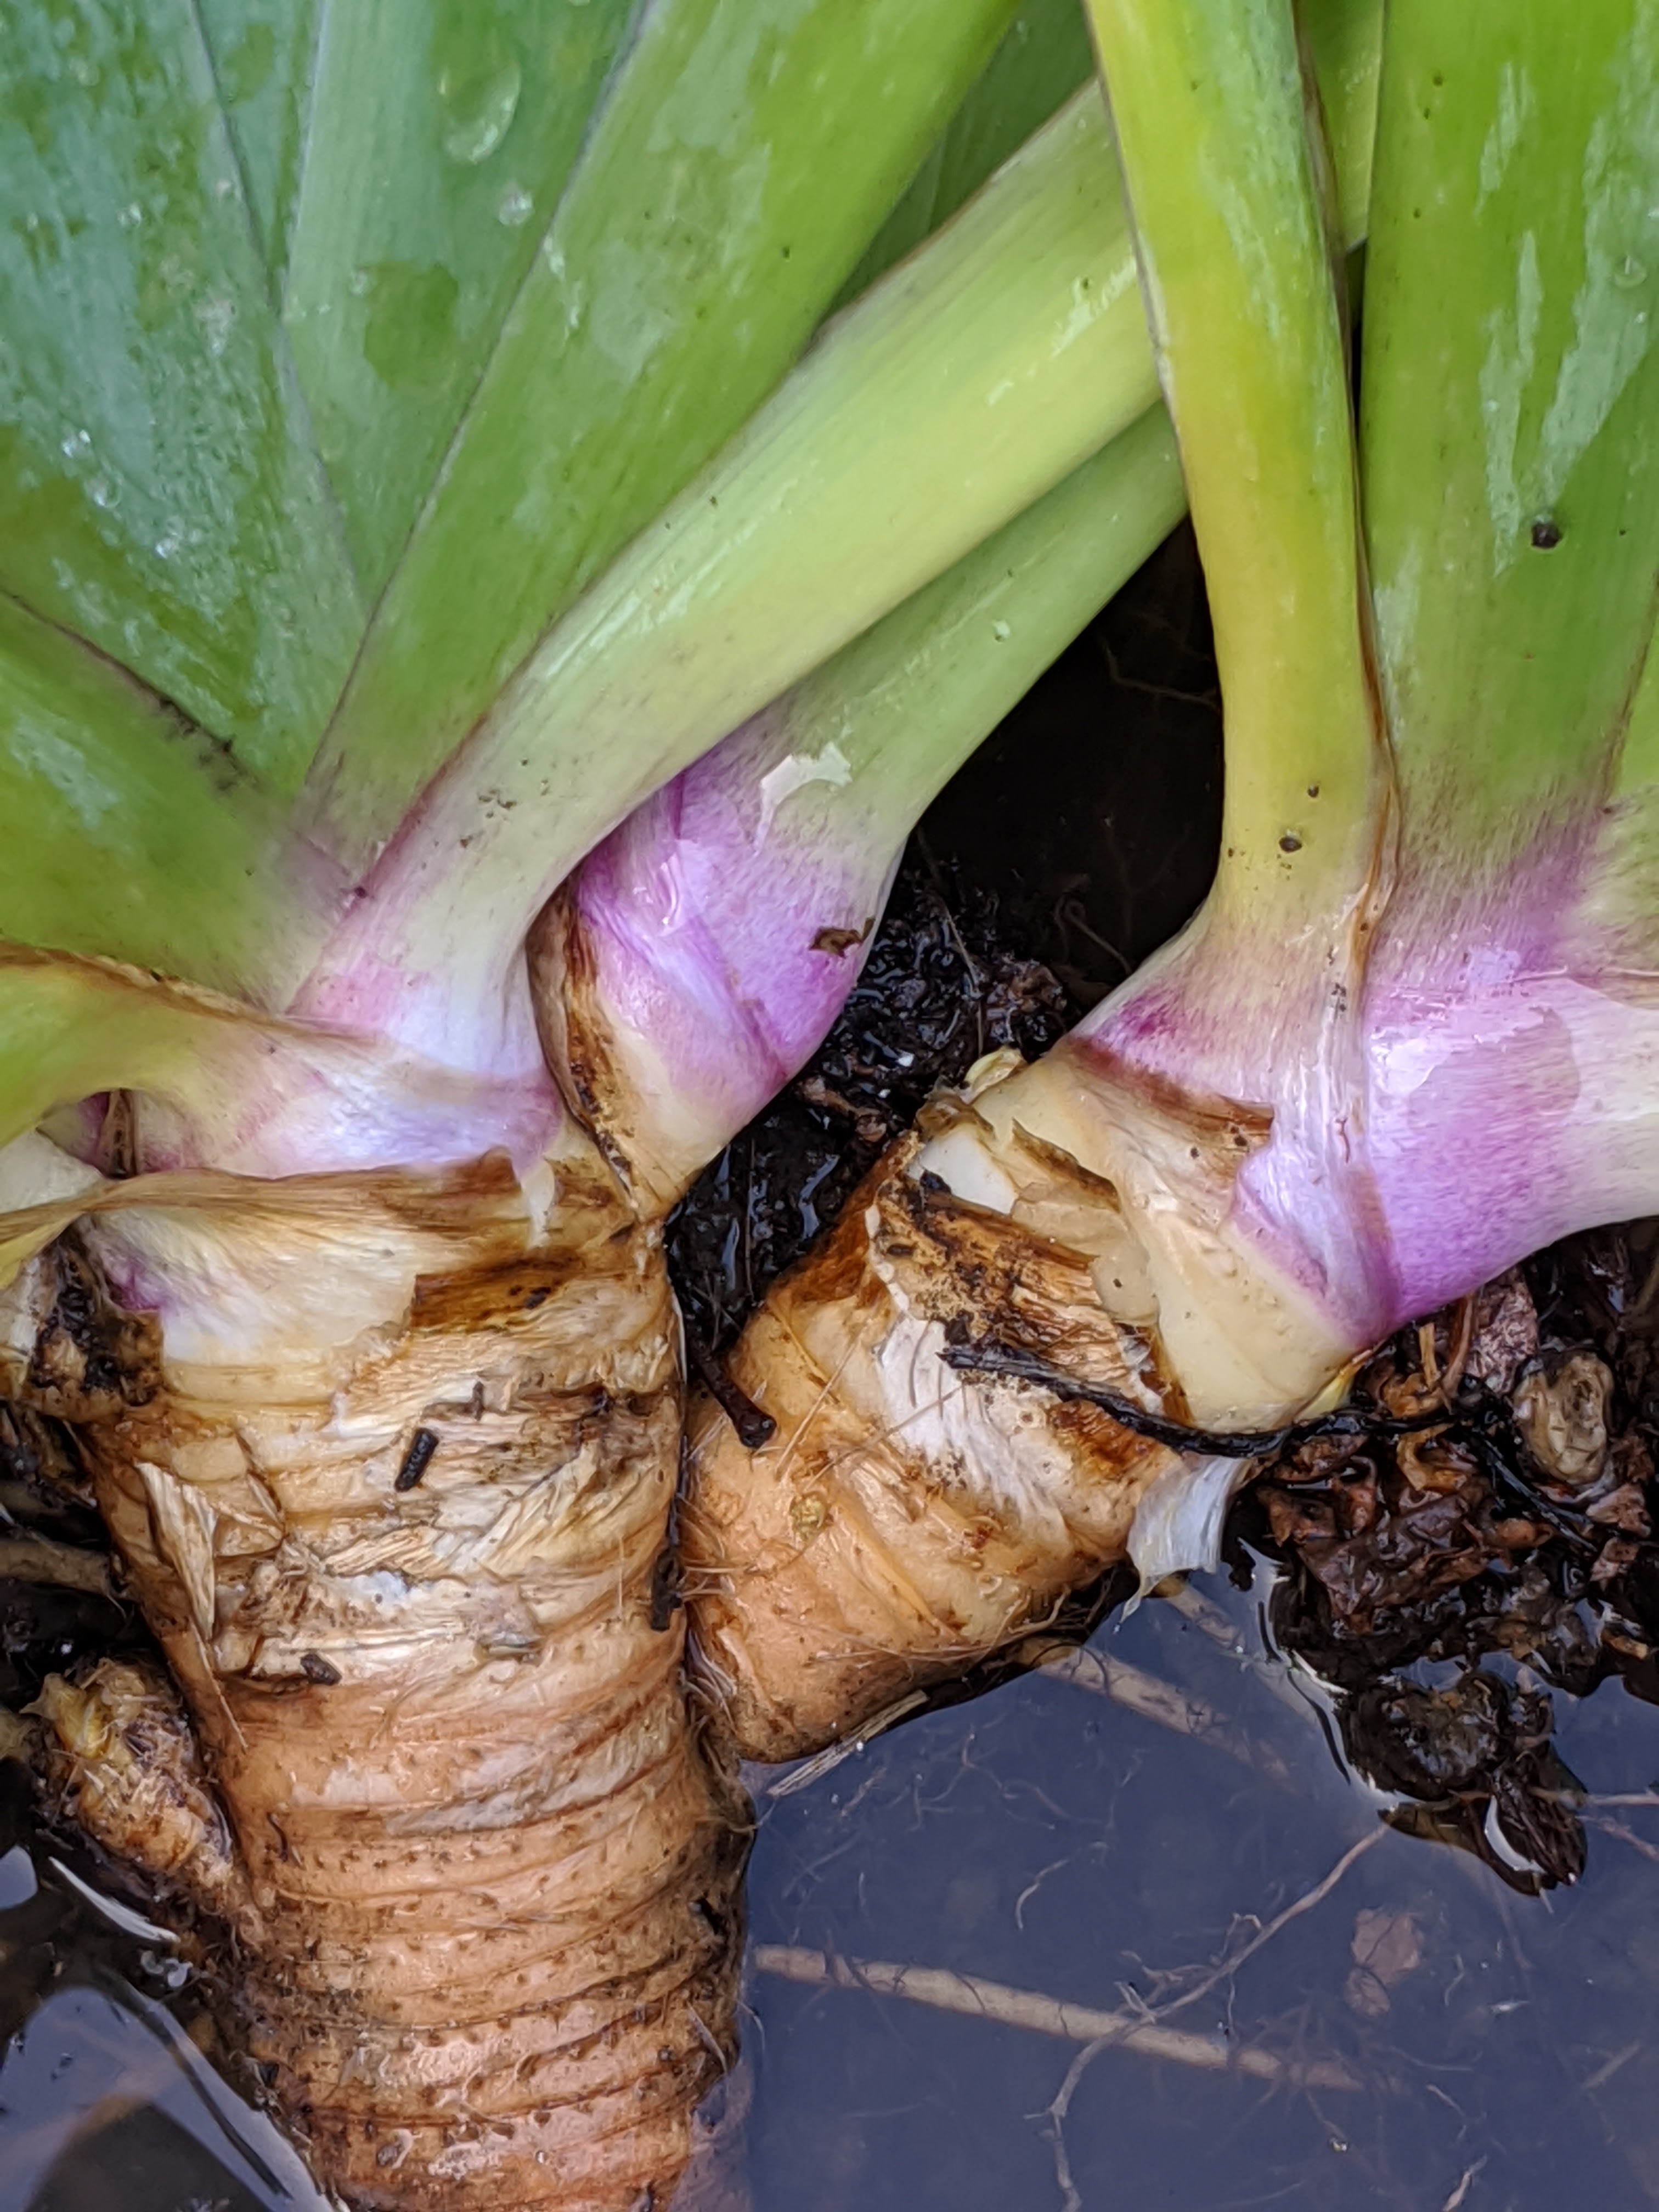
Interesting thing I noticed with my new mystery Iris was that as I cleaned up the base of the leaves was this pink flush, its since disappeared but I’ve been told this is a thing with older iris breeds.
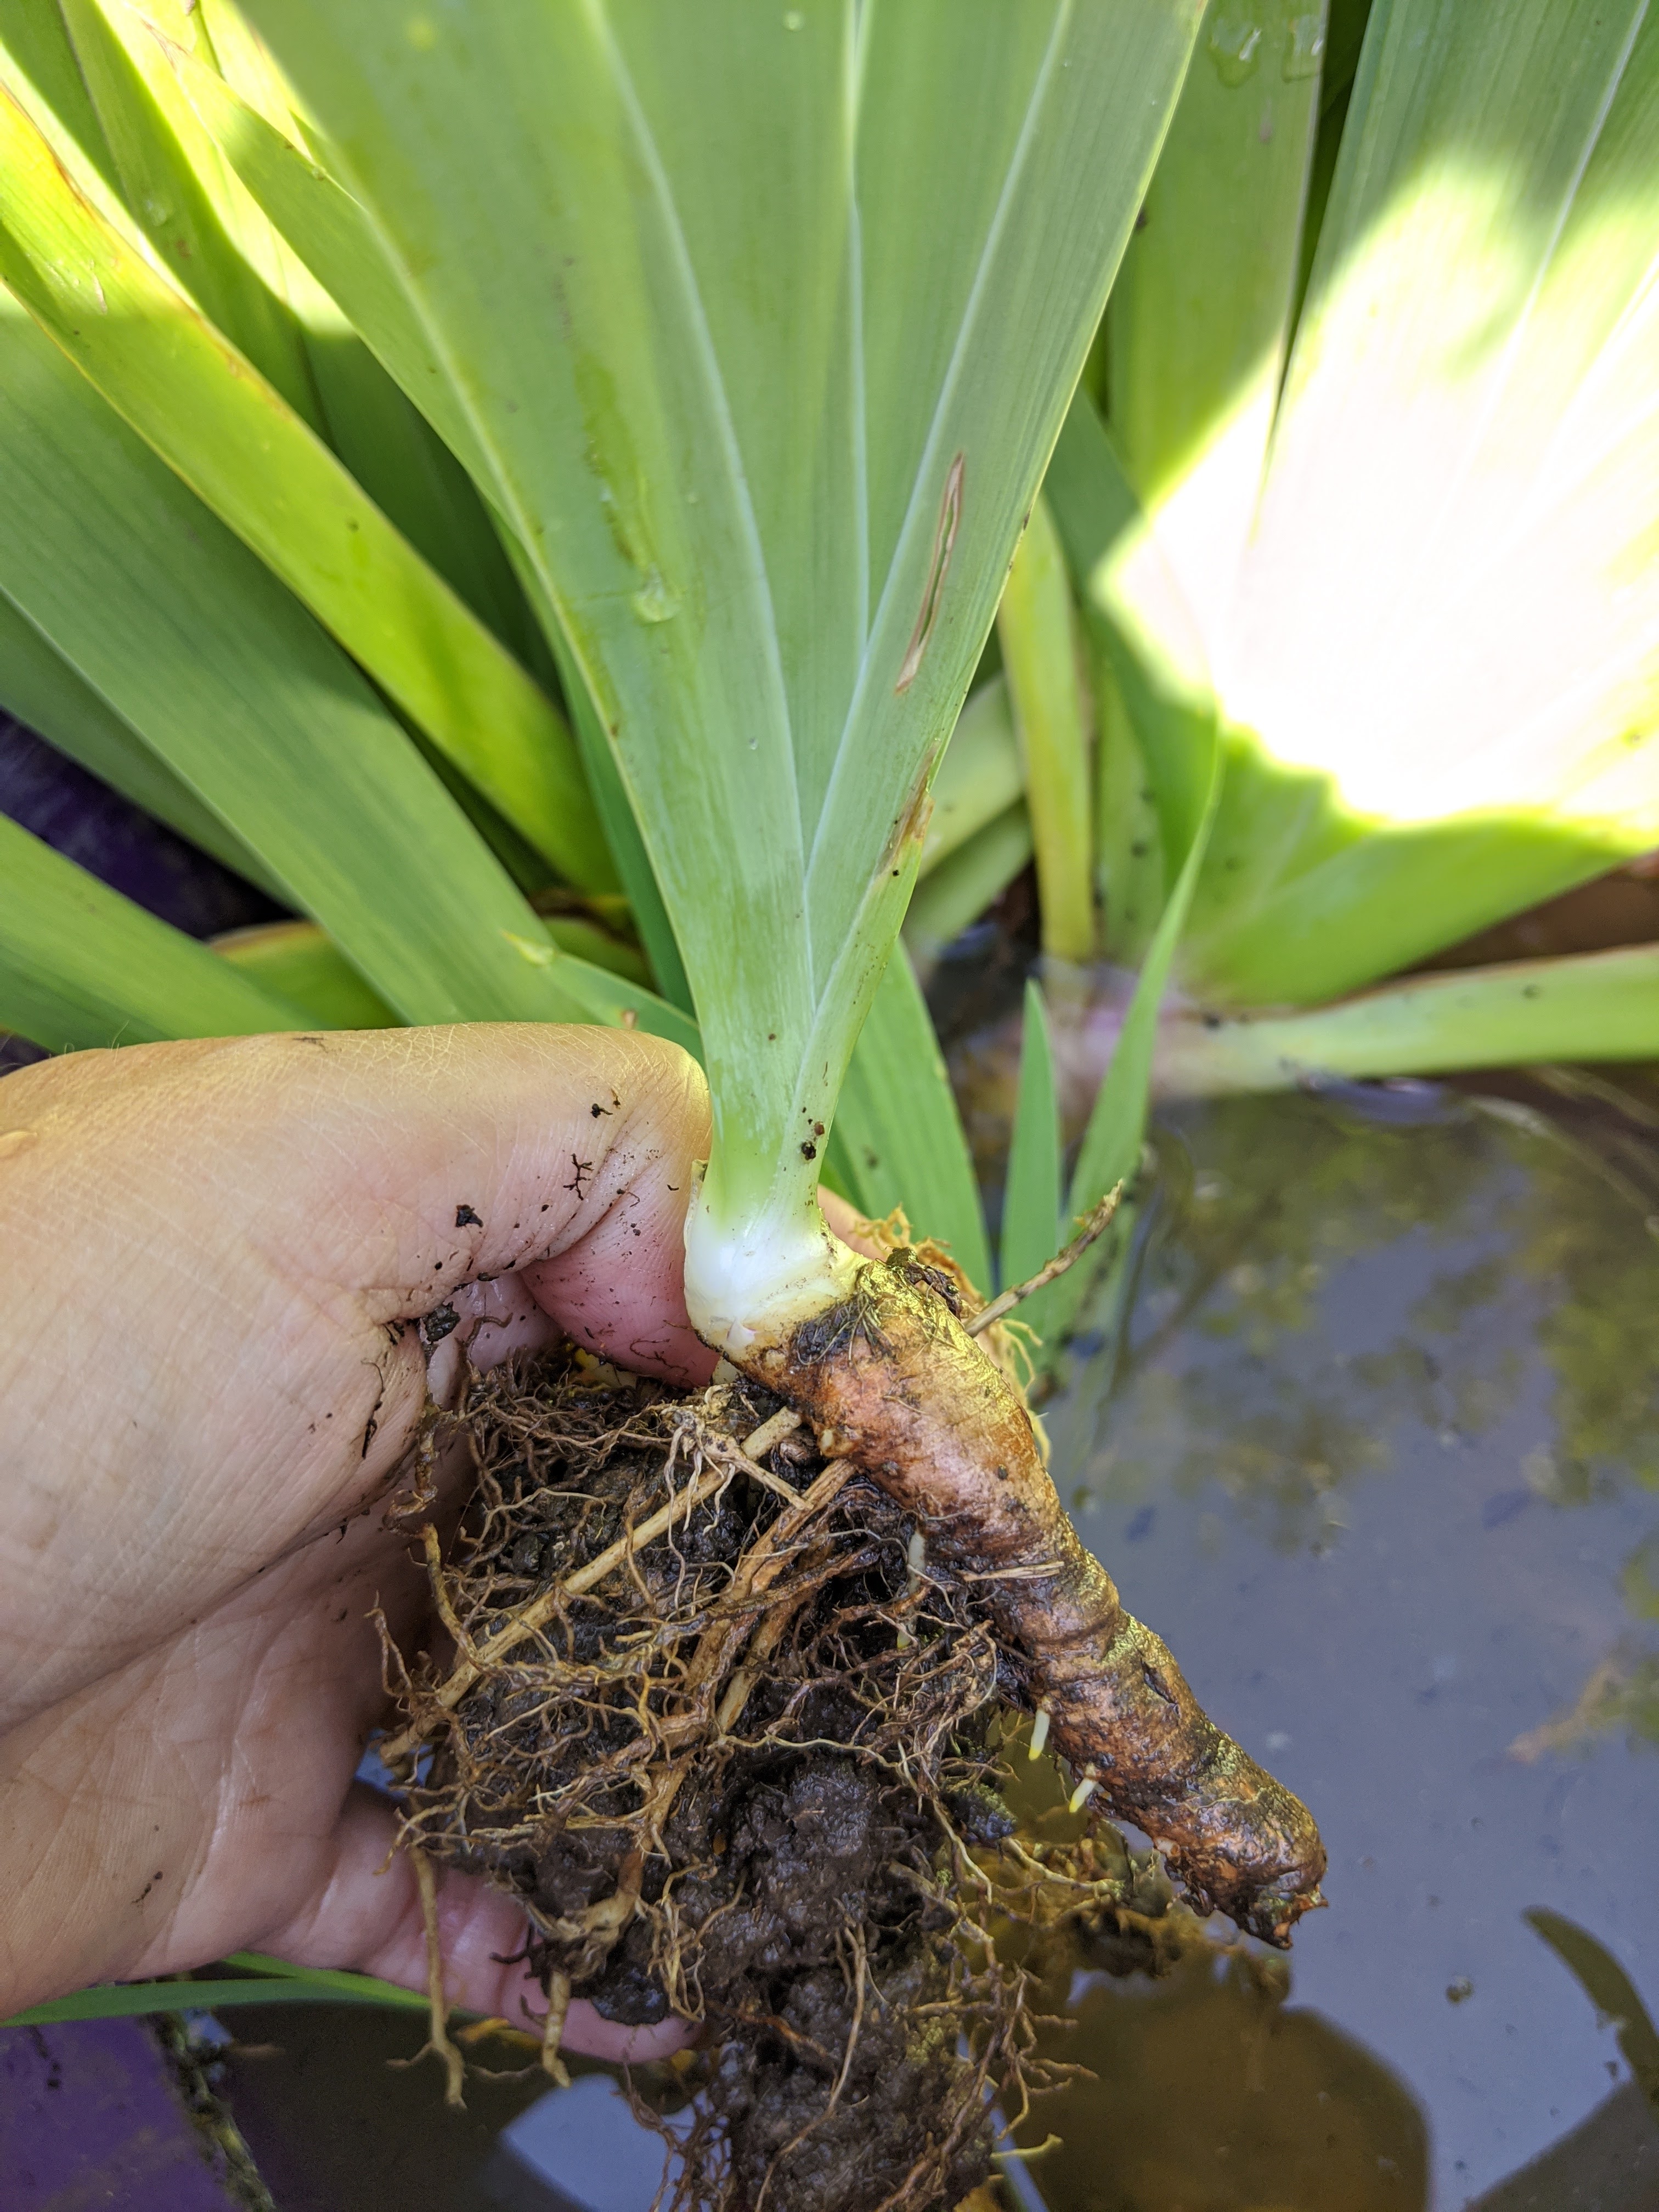
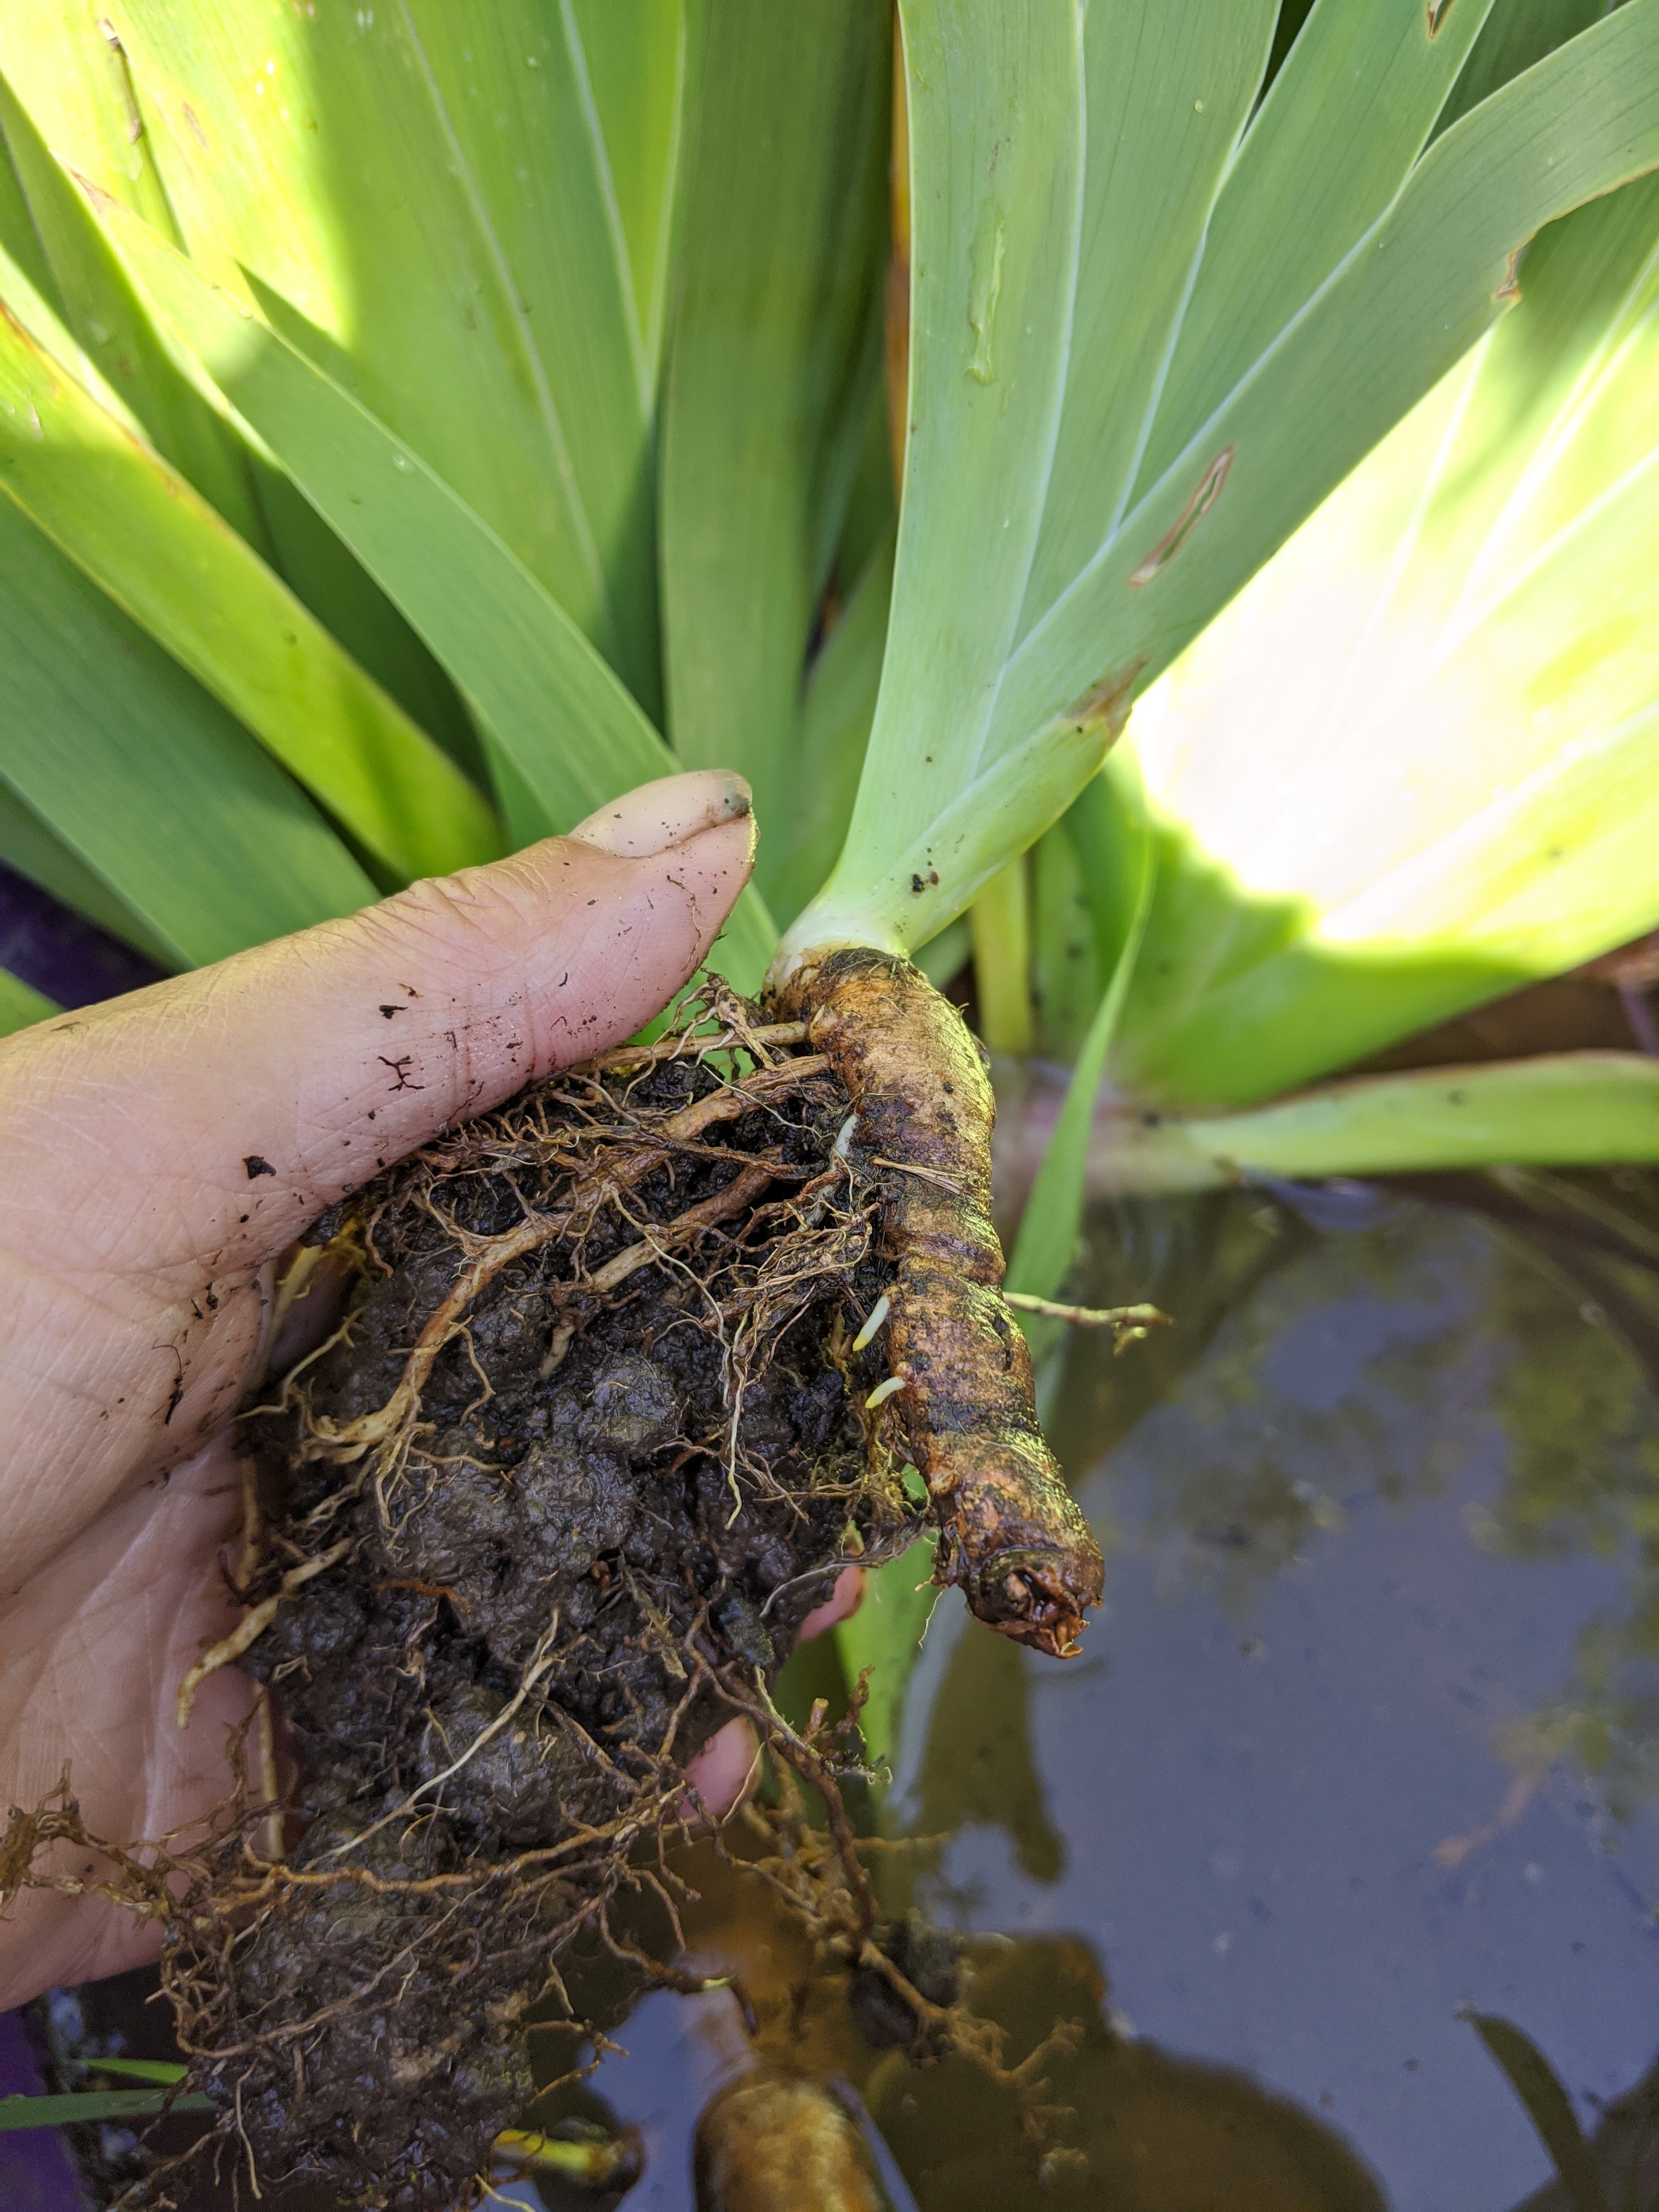
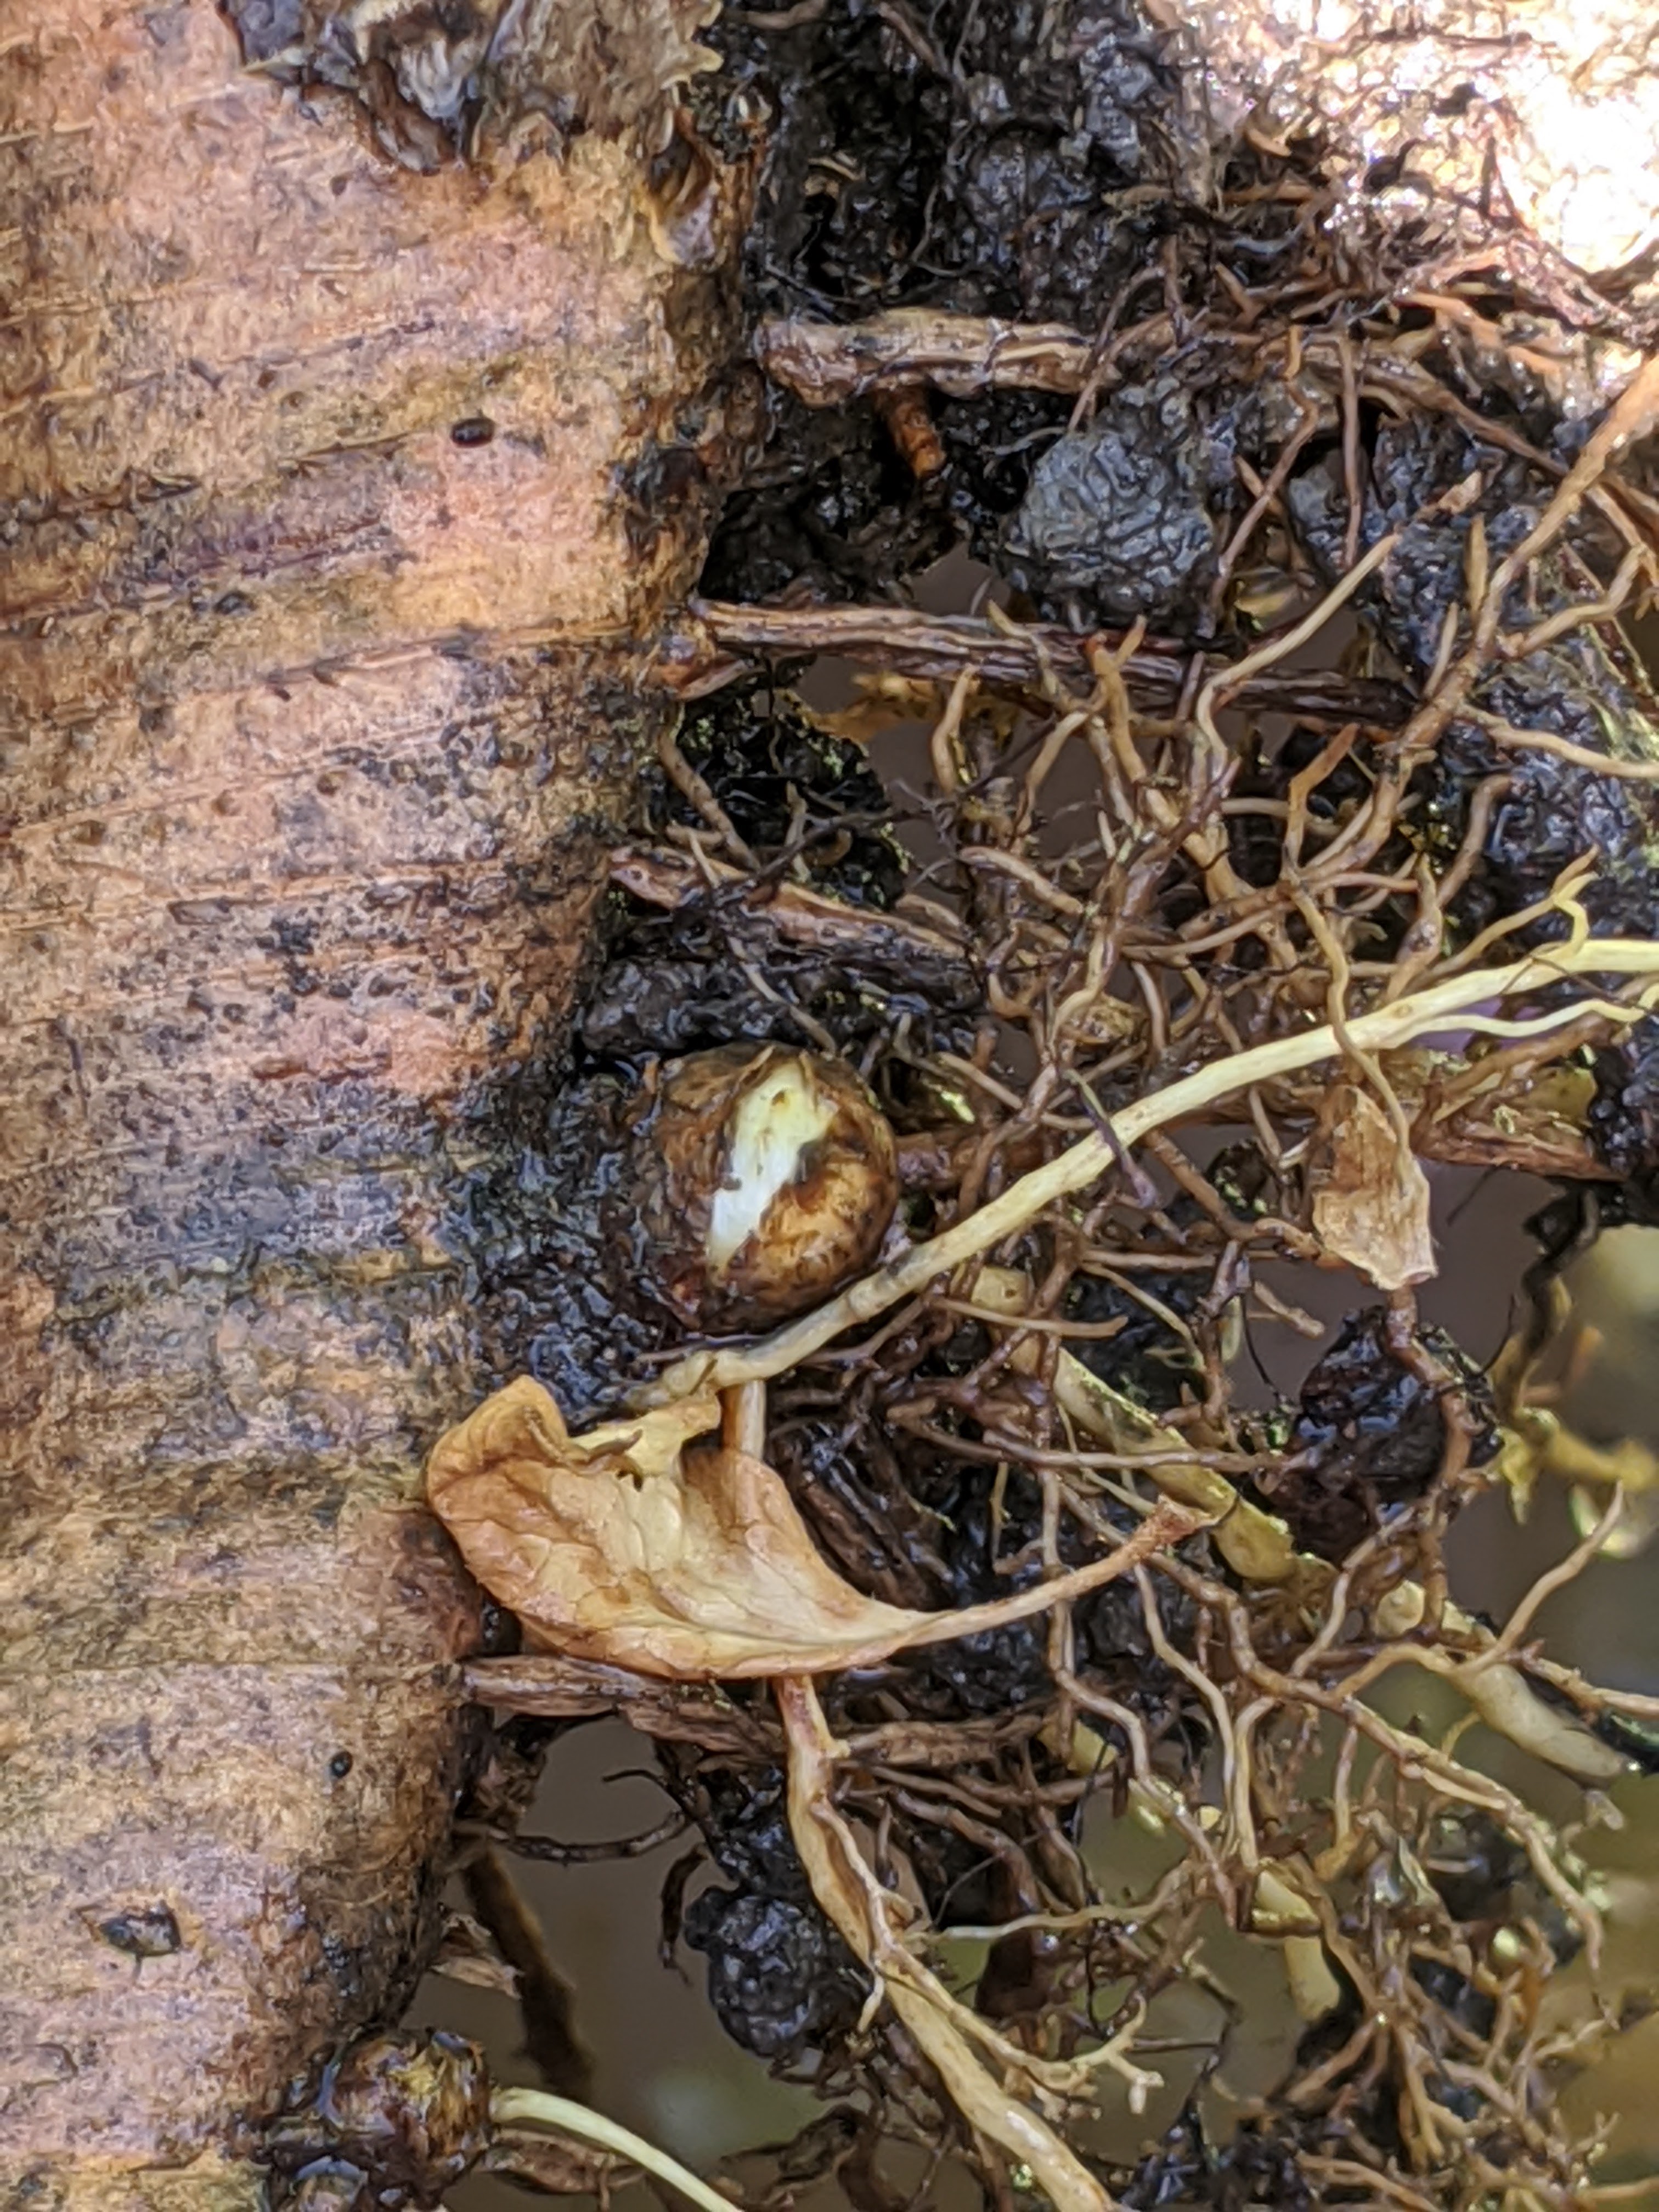
On the picture below you can see the all important new white roots, the old roots which are a muddy colour and fibrous aren’t as important but if you don’t have to disturb them don’t, but do protect those lovely new roots!
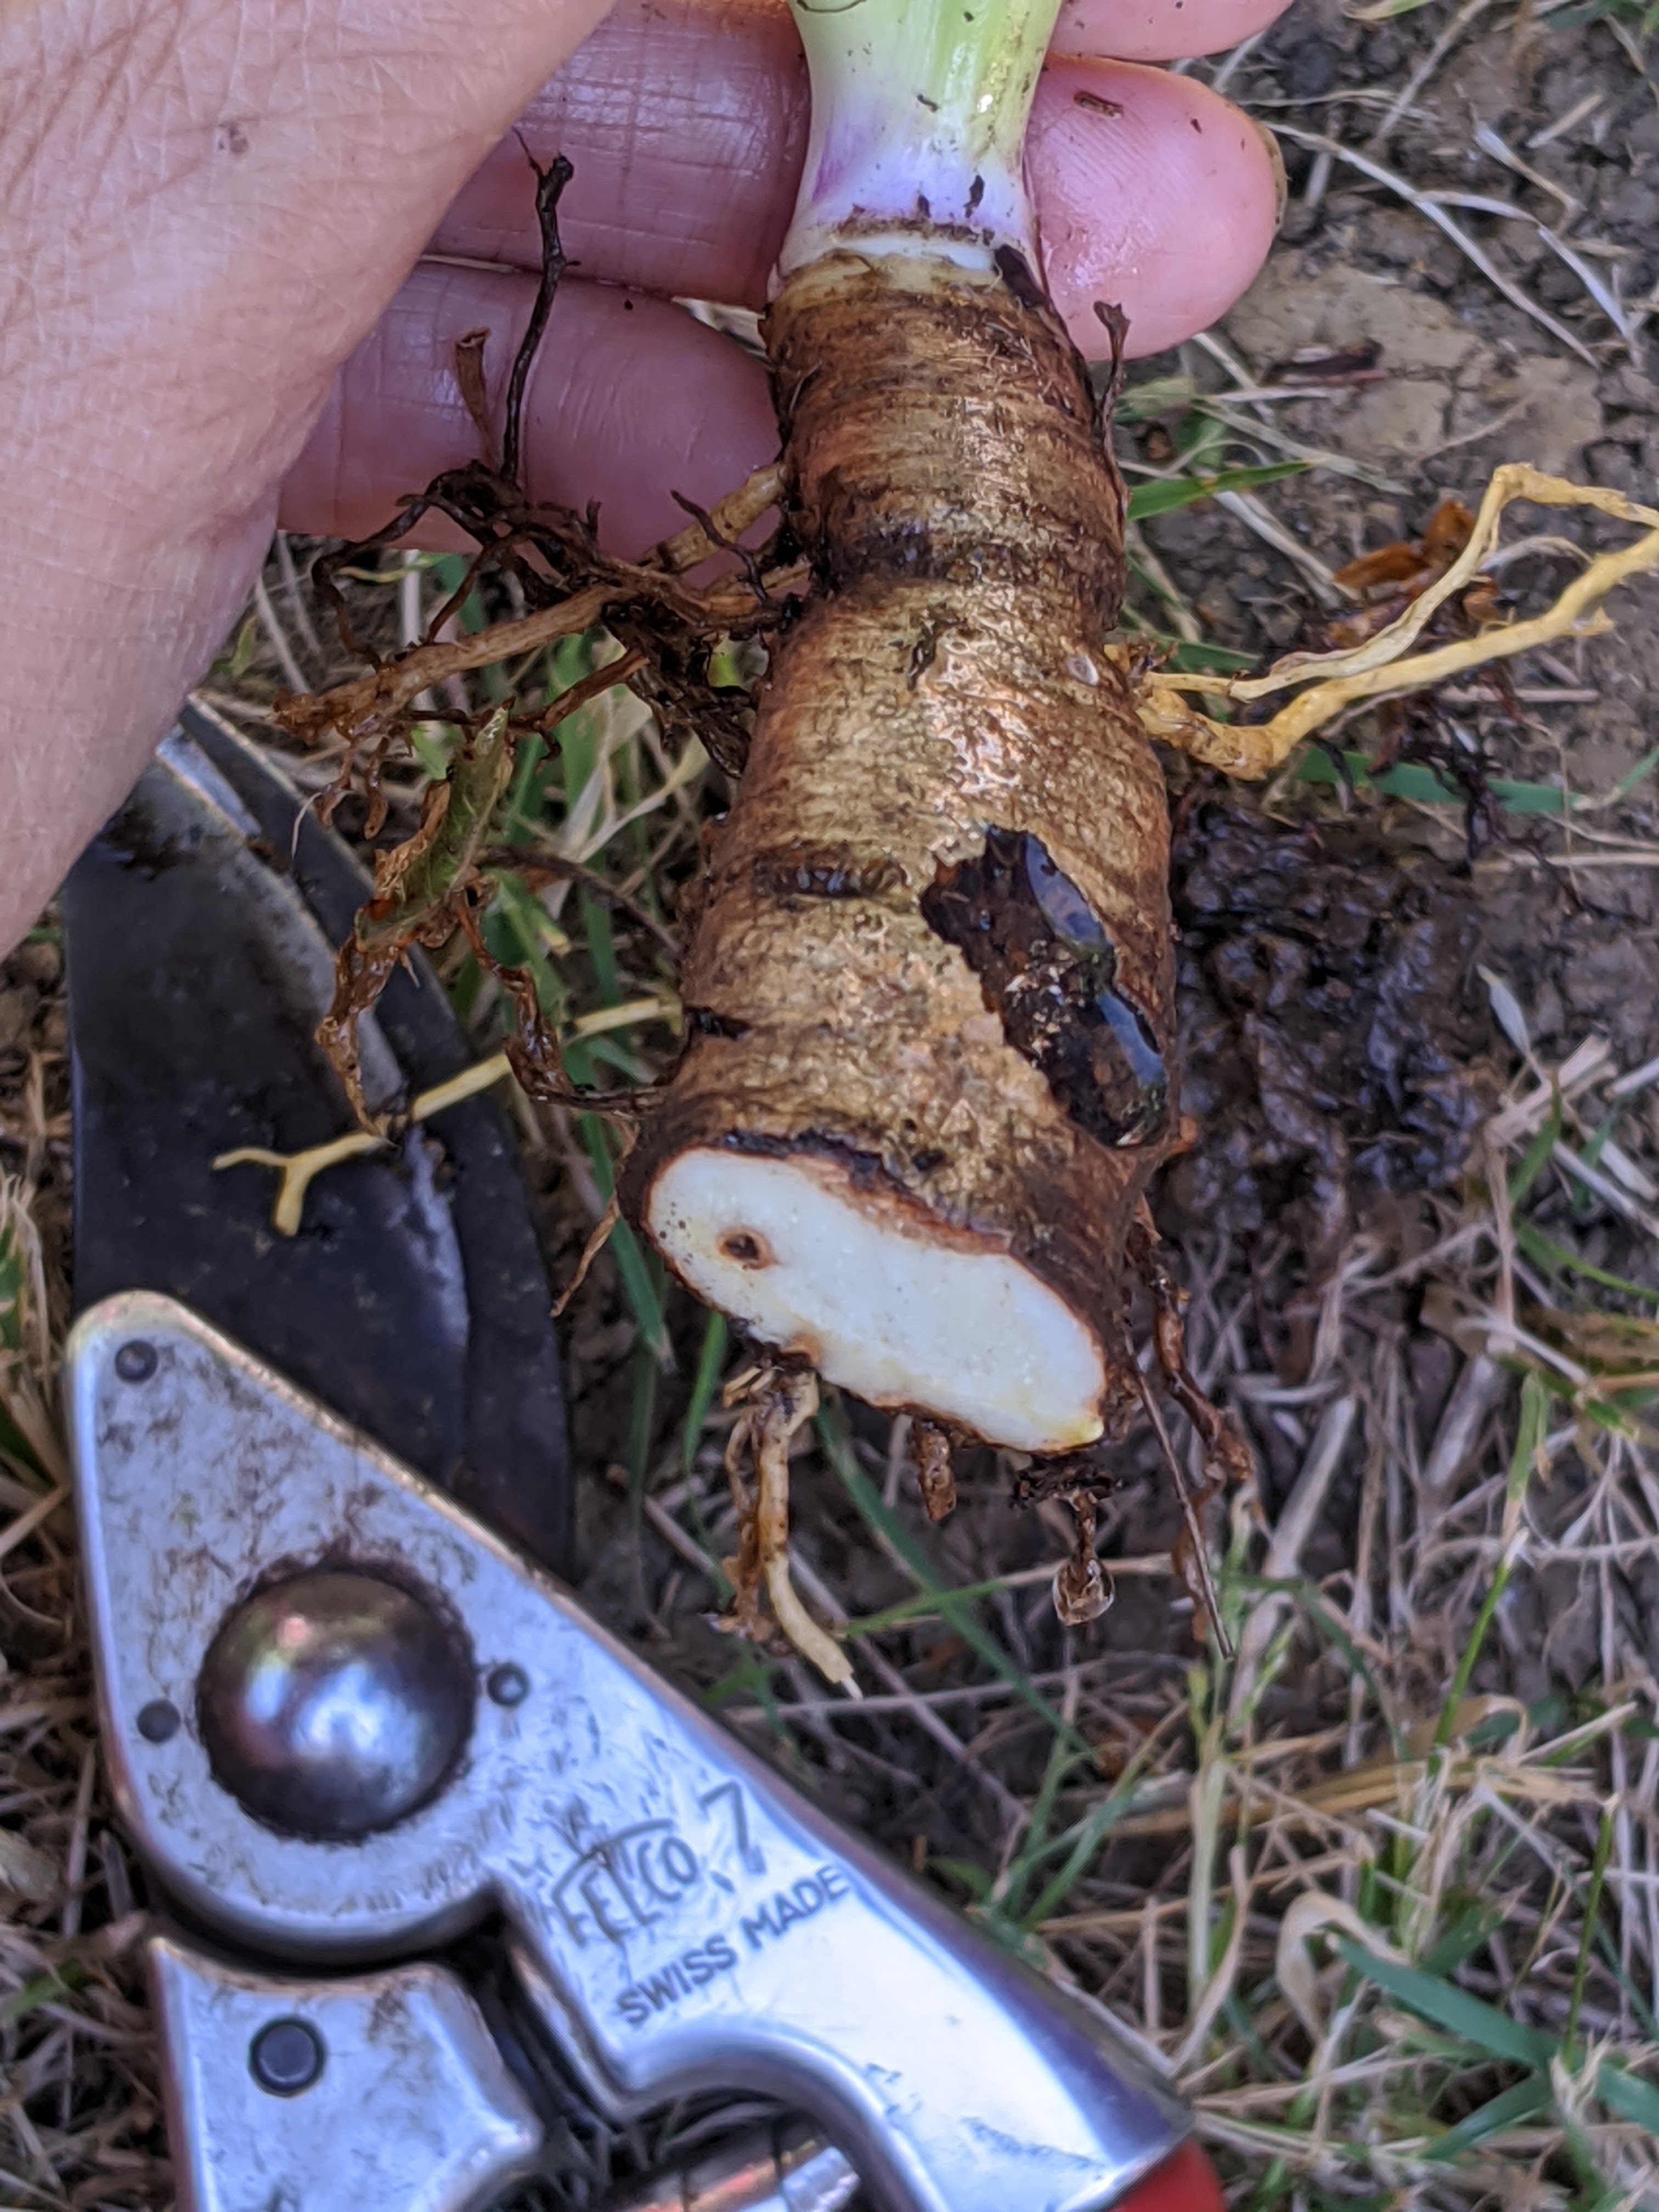
Below you can see a rhizome which is really struggling, I’m not sure of the reason its become desiccated but that’s less important than what happens to it next.
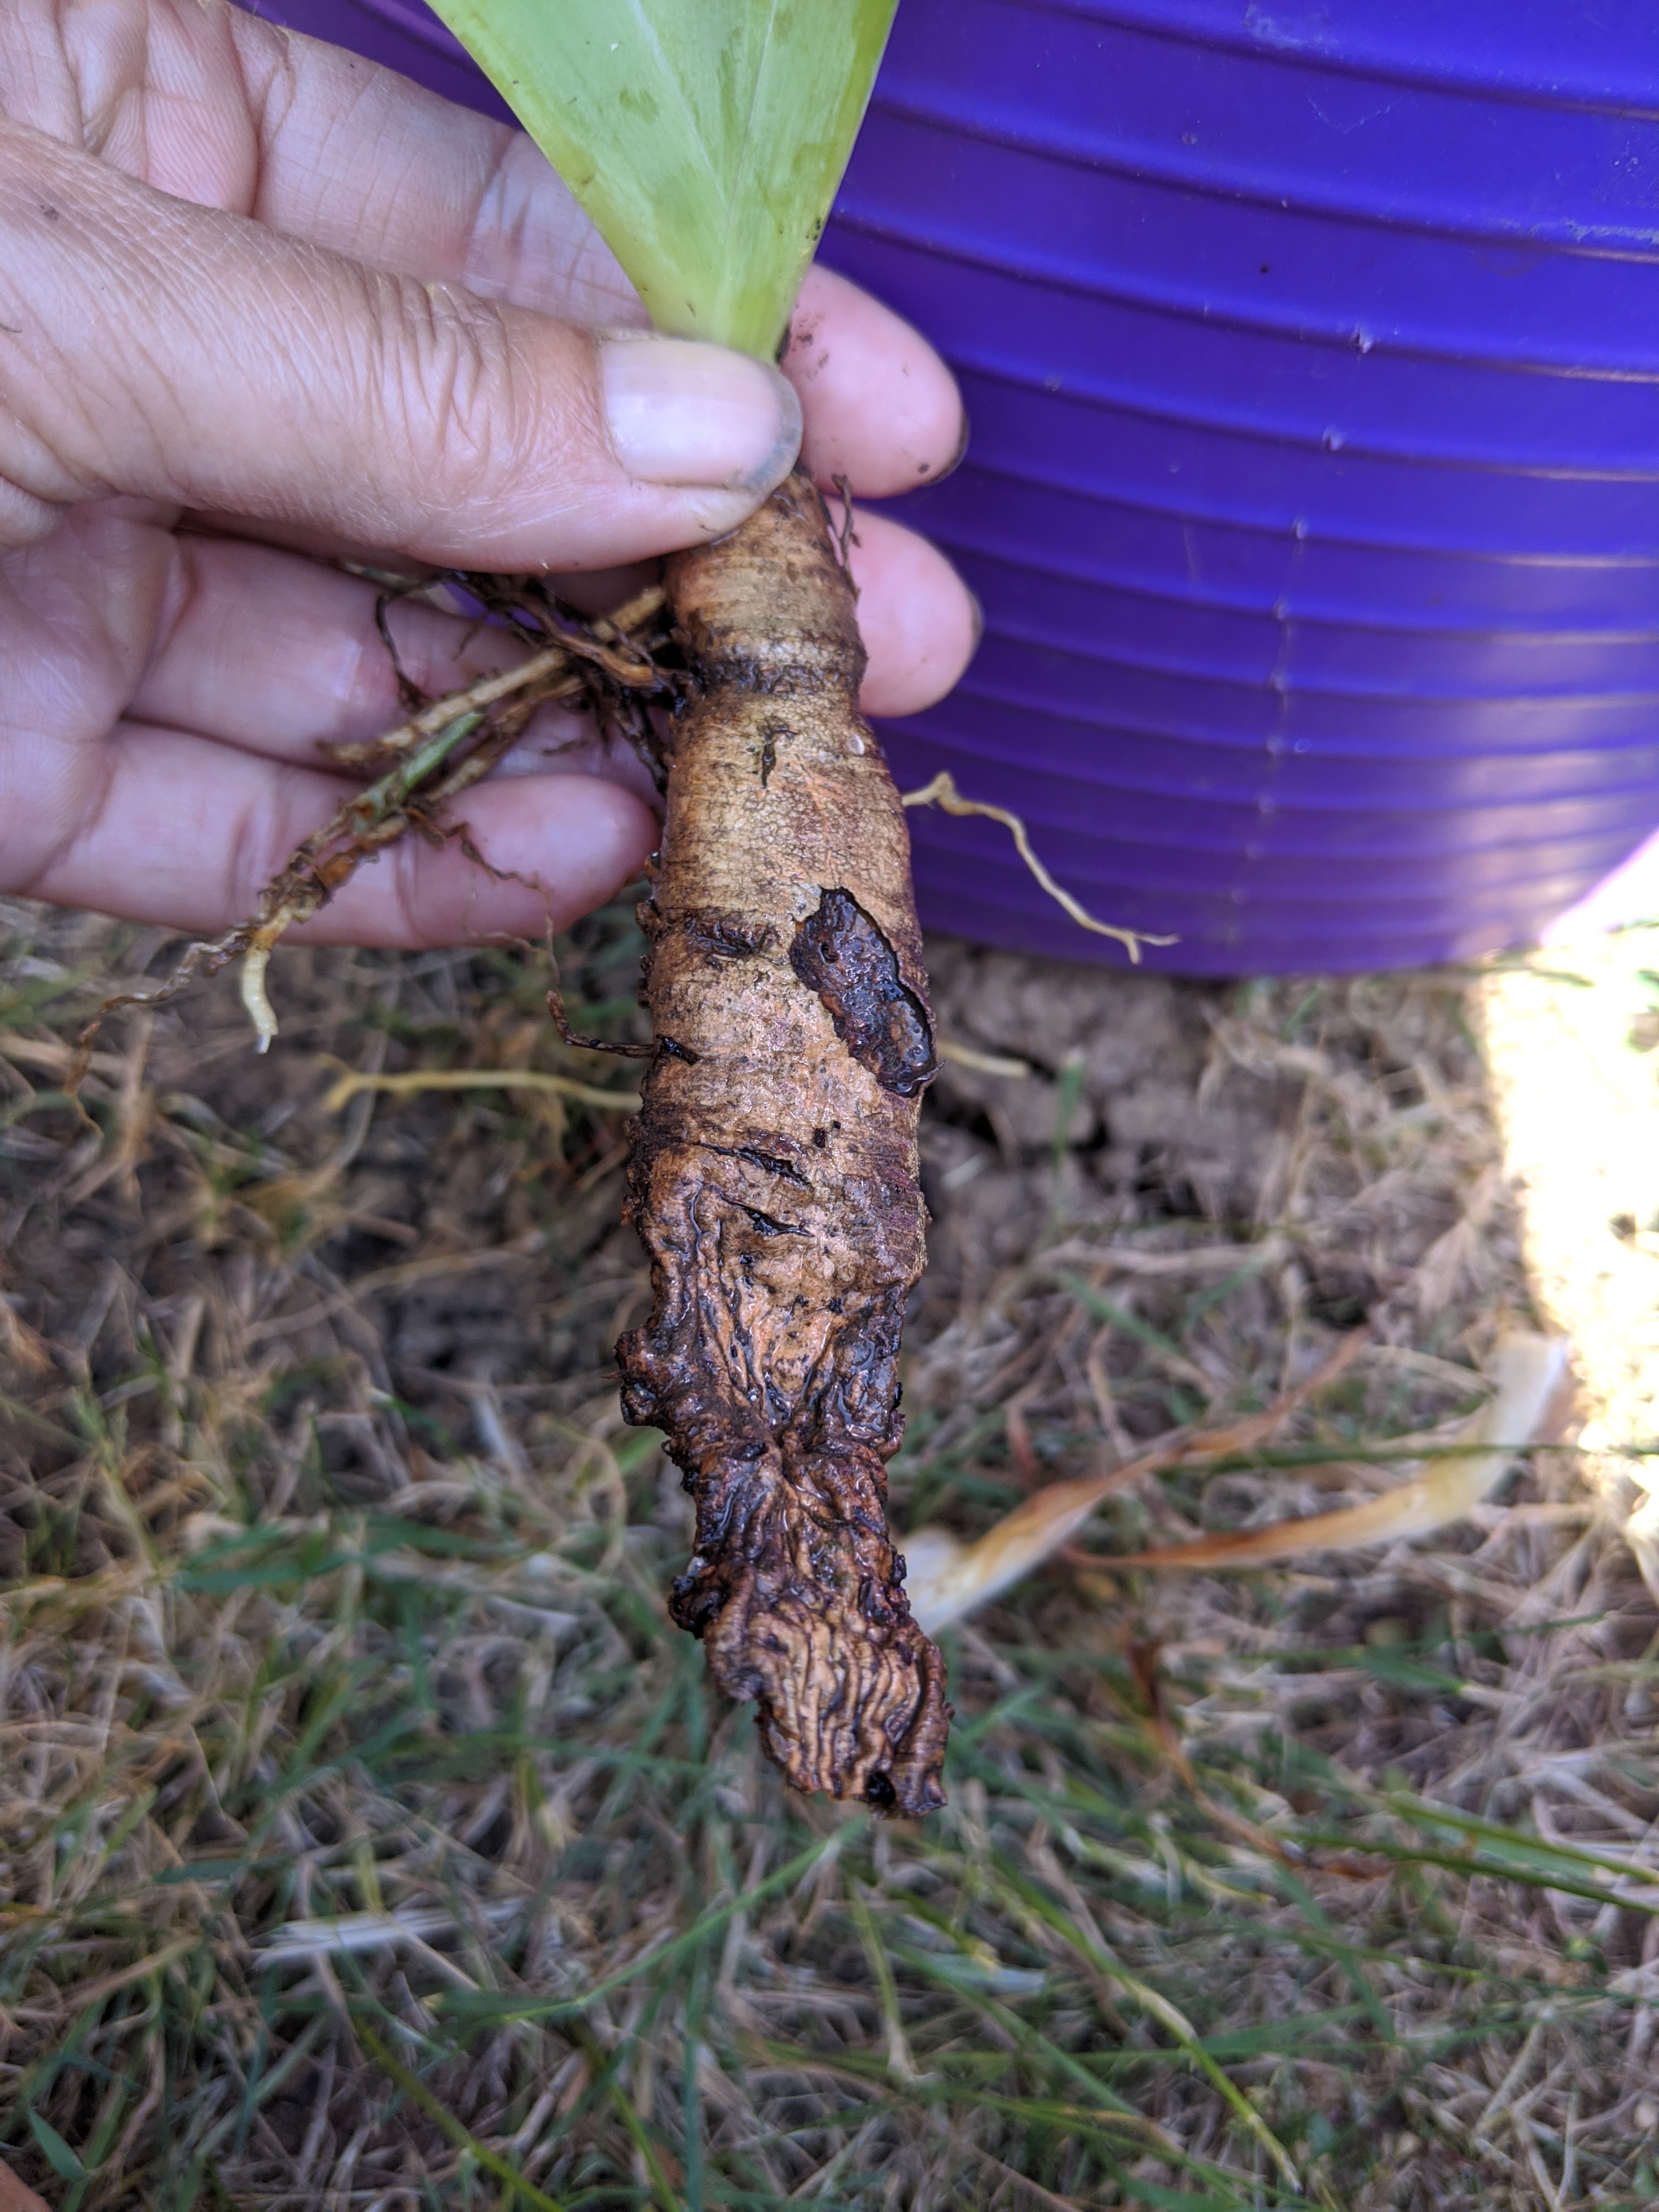
Using either a clean sharp knife or secateurs slice through the damaged Rhizome till you find clean white flesh, you can then leave this to one side to callus over before planting.
How to plant your divided Iris
The picture below is how NOT to plant!
Bearded Iris need the sun on their Rhizomes, if you were to plant them like the photo below there’s a high chance they will rot.
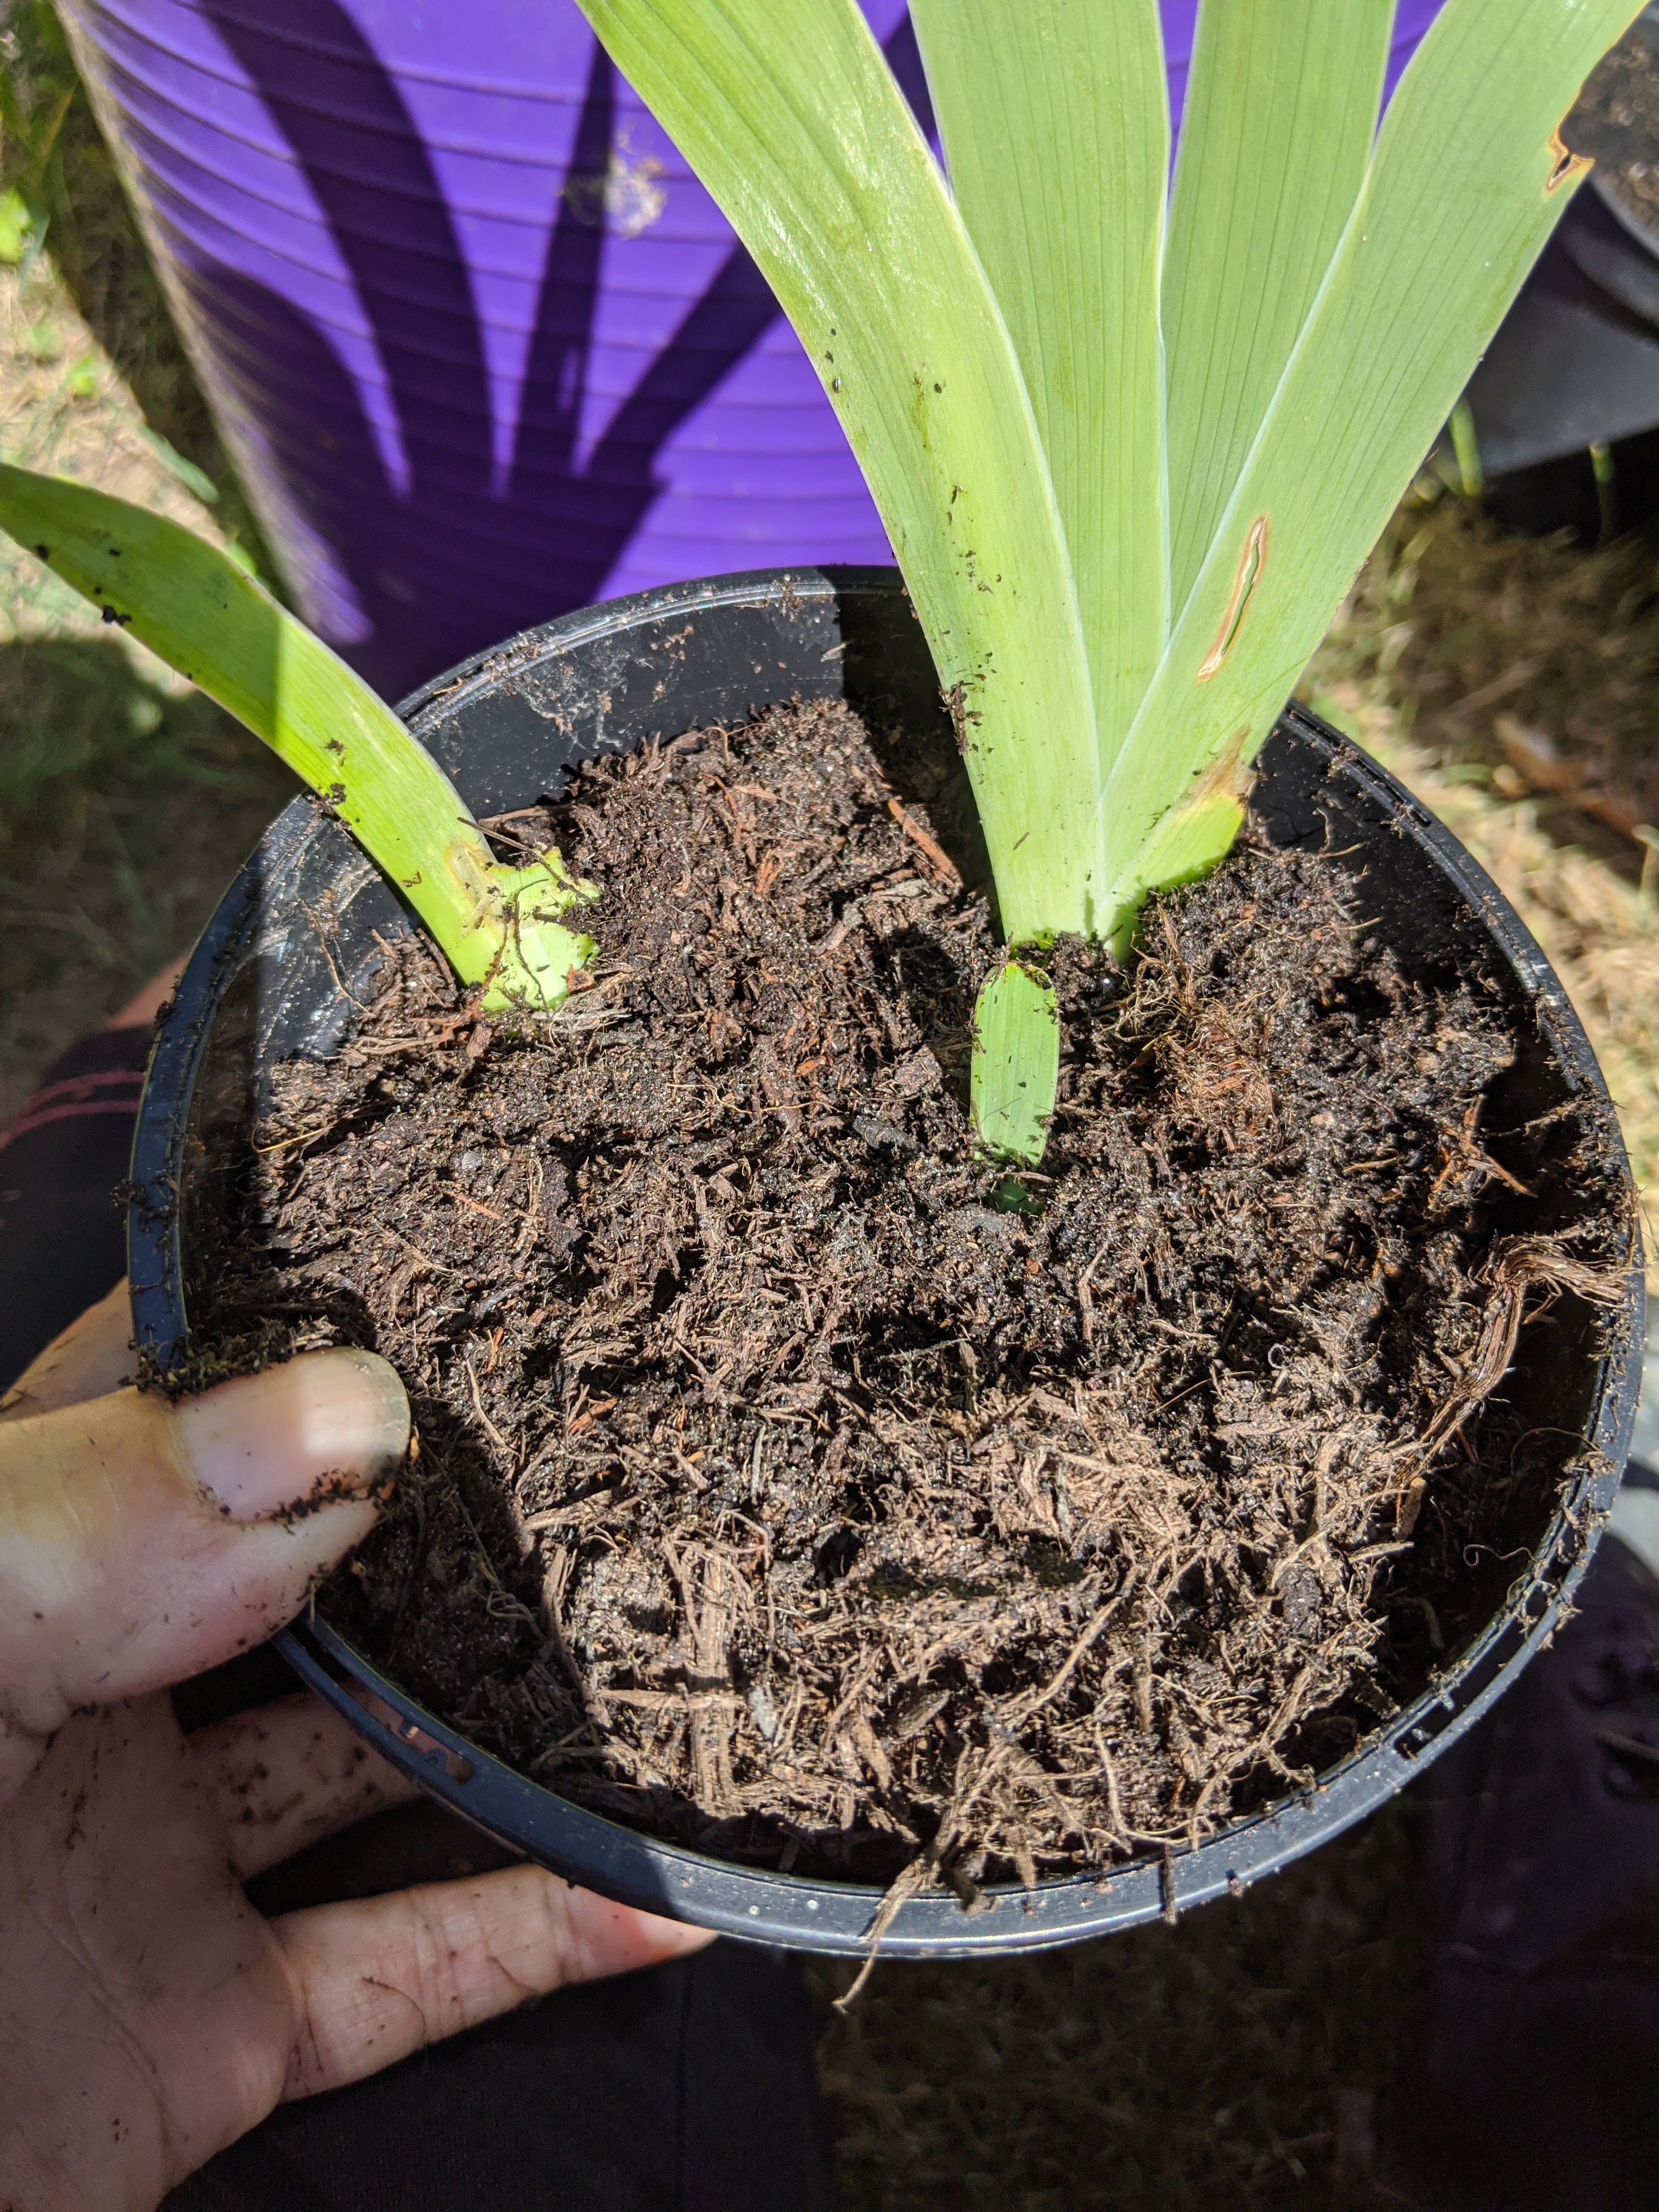
Instead, what we are looking for from your iris is this. The picture below clearly shows that although the Rhizome is standing proud the roots are firmly below the soil level. This means they will bake in the sun.

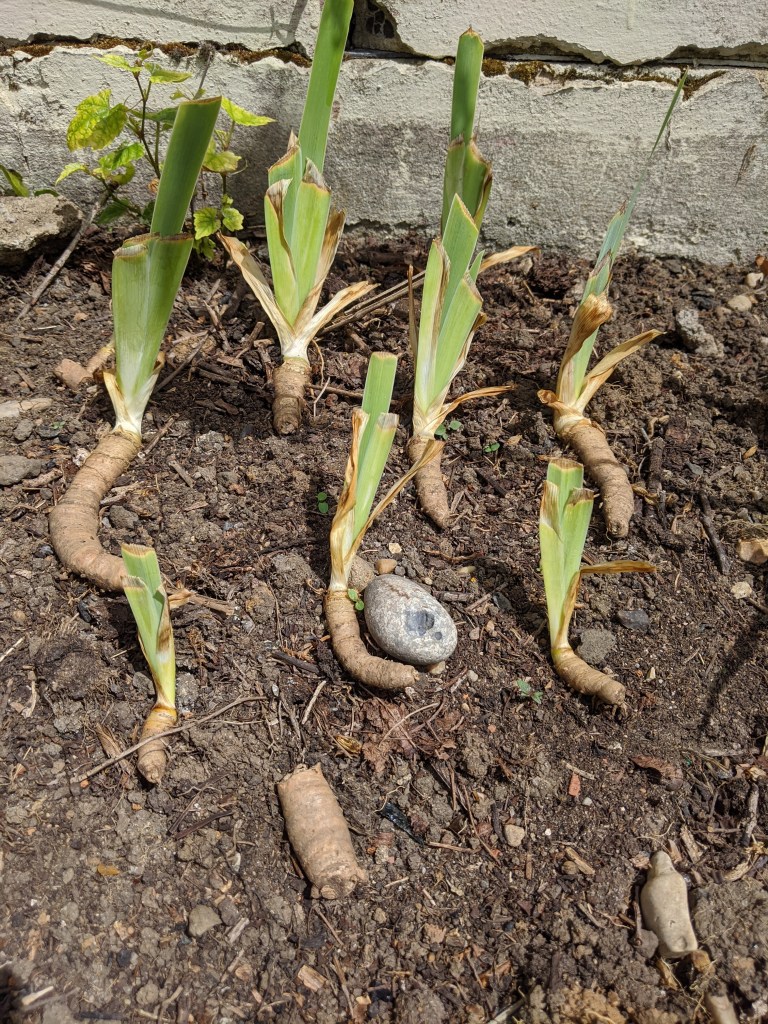
Now if you have a massive old Rhizome with no real leaves to speak of you can either throw it away OR if you’re like me you can look hard along the length and spot the growing points (see the 3 pics below) and cut the Rhizome into sections about an inch either side of the nodule, then once its callused over you can then pot that up.


To prevent your Iris drying out and getting root rock also cut the foliage down to about 2 inches, it seems harsh but they will establish quicker and will only start to produce new leaves once they have established the roots to support them. Also check back as the Rhizome can become proud once the soil settles, like these, after planting.
And finally of course you have to explain to a very annoyed Phil cat exactly why you’ve ruined his favourite sleeping spot!


Thanks Lou – just lifted a large clump to divide and had a break during which I spotted your tweet and read the blog. I remember Carol Klein showing us how to do this on GW about five years ago but the bit about reviving old rhizomes was new to me, so thanks. Now to get on with sorting, splitting, reviving and replanting.
LikeLiked by 1 person
I’m happy to note that I’m not the only one to ignore gardening etiquette. As you mention, the reasoning was entirely pragmatic!
I don’t have flowering (or non-flowering) irises, but thank you anyway. I’d have buried the rhizome entirely, so I’ve learned a thing or two. Beir bua, a chara.
LikeLiked by 1 person
Thank you, v helpful!
LikeLiked by 1 person
Excellent advice, Lou!
LikeLiked by 1 person